The following guide demonstrates how to create a Visual Studio 2015 / 2017 MFC C++ project and add WebKitX control in a Form.
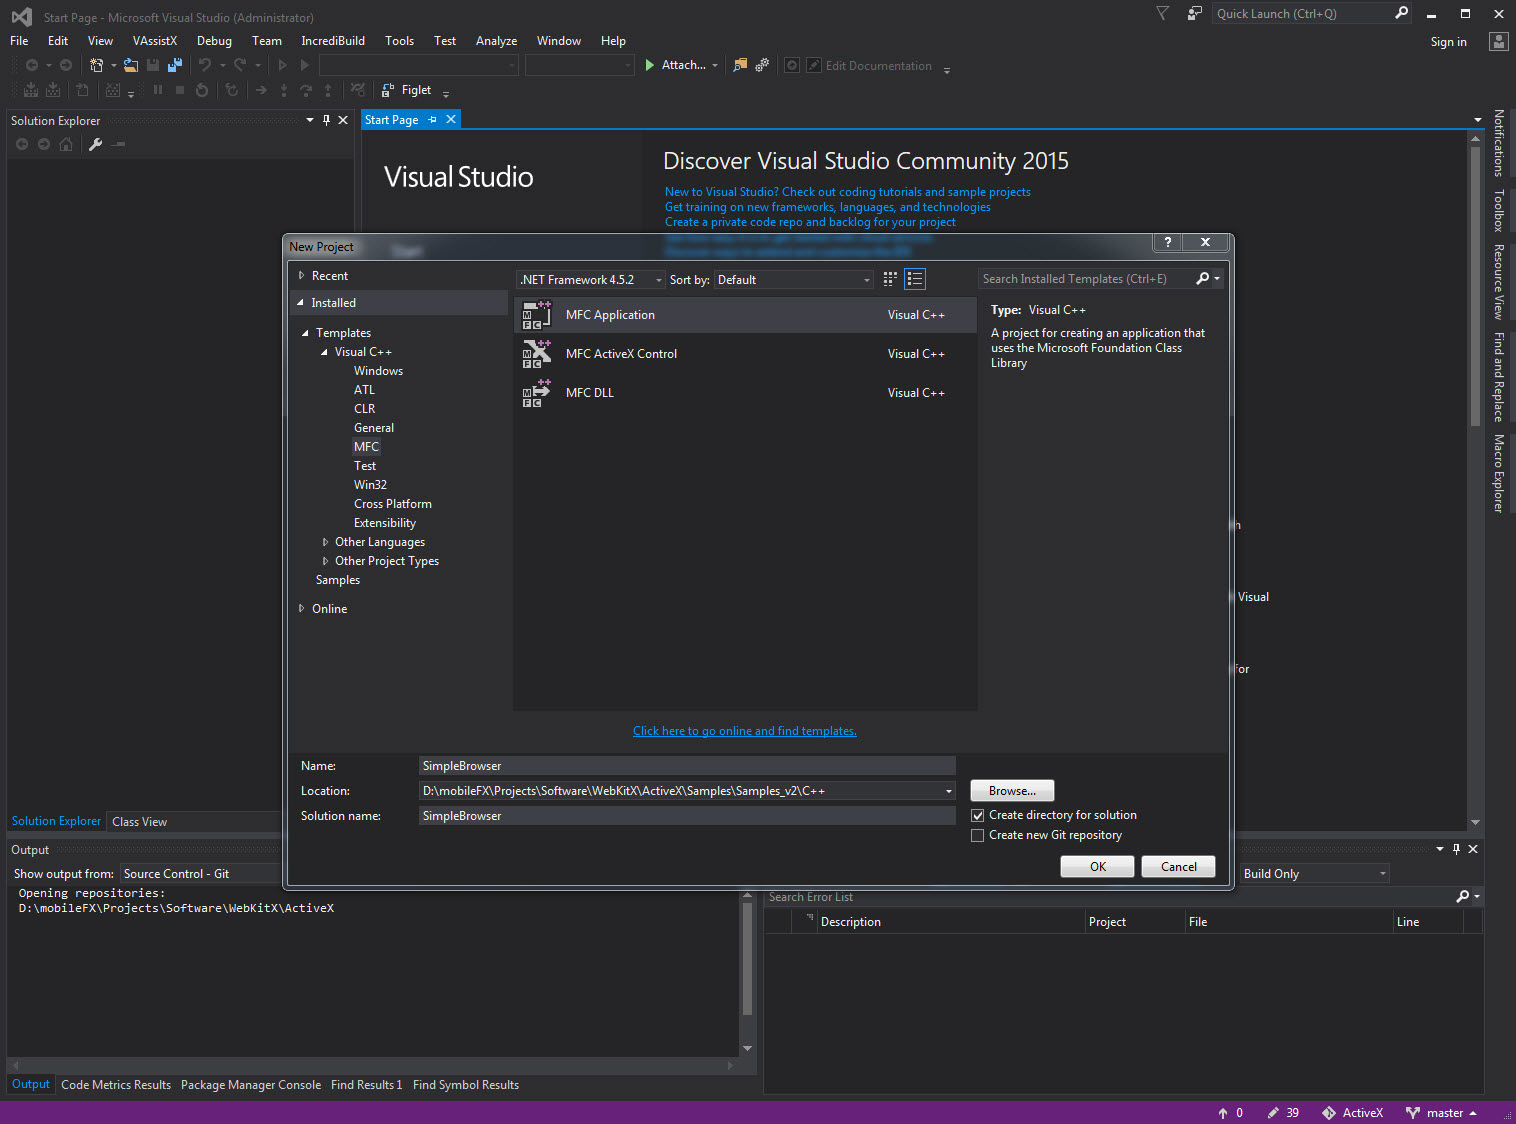
Start Visual Studio and create a new MFC Application.
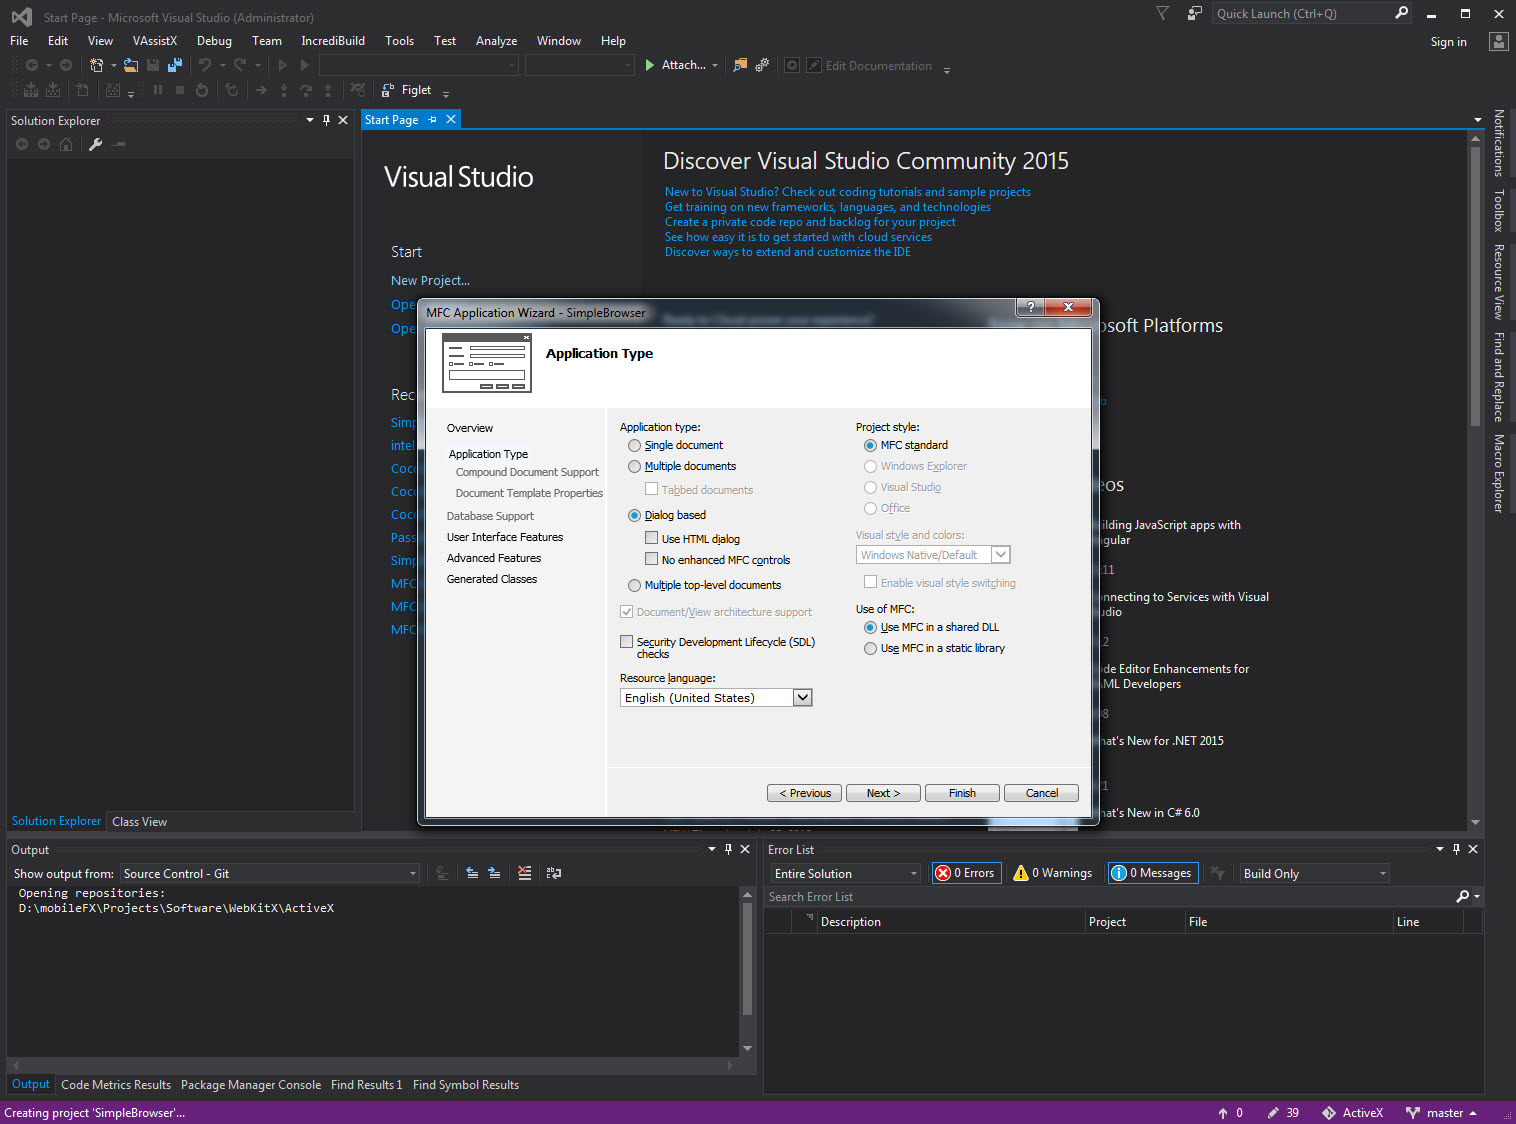
Click next on until you see the Application Type screen. Select Dialog based application and click Next.
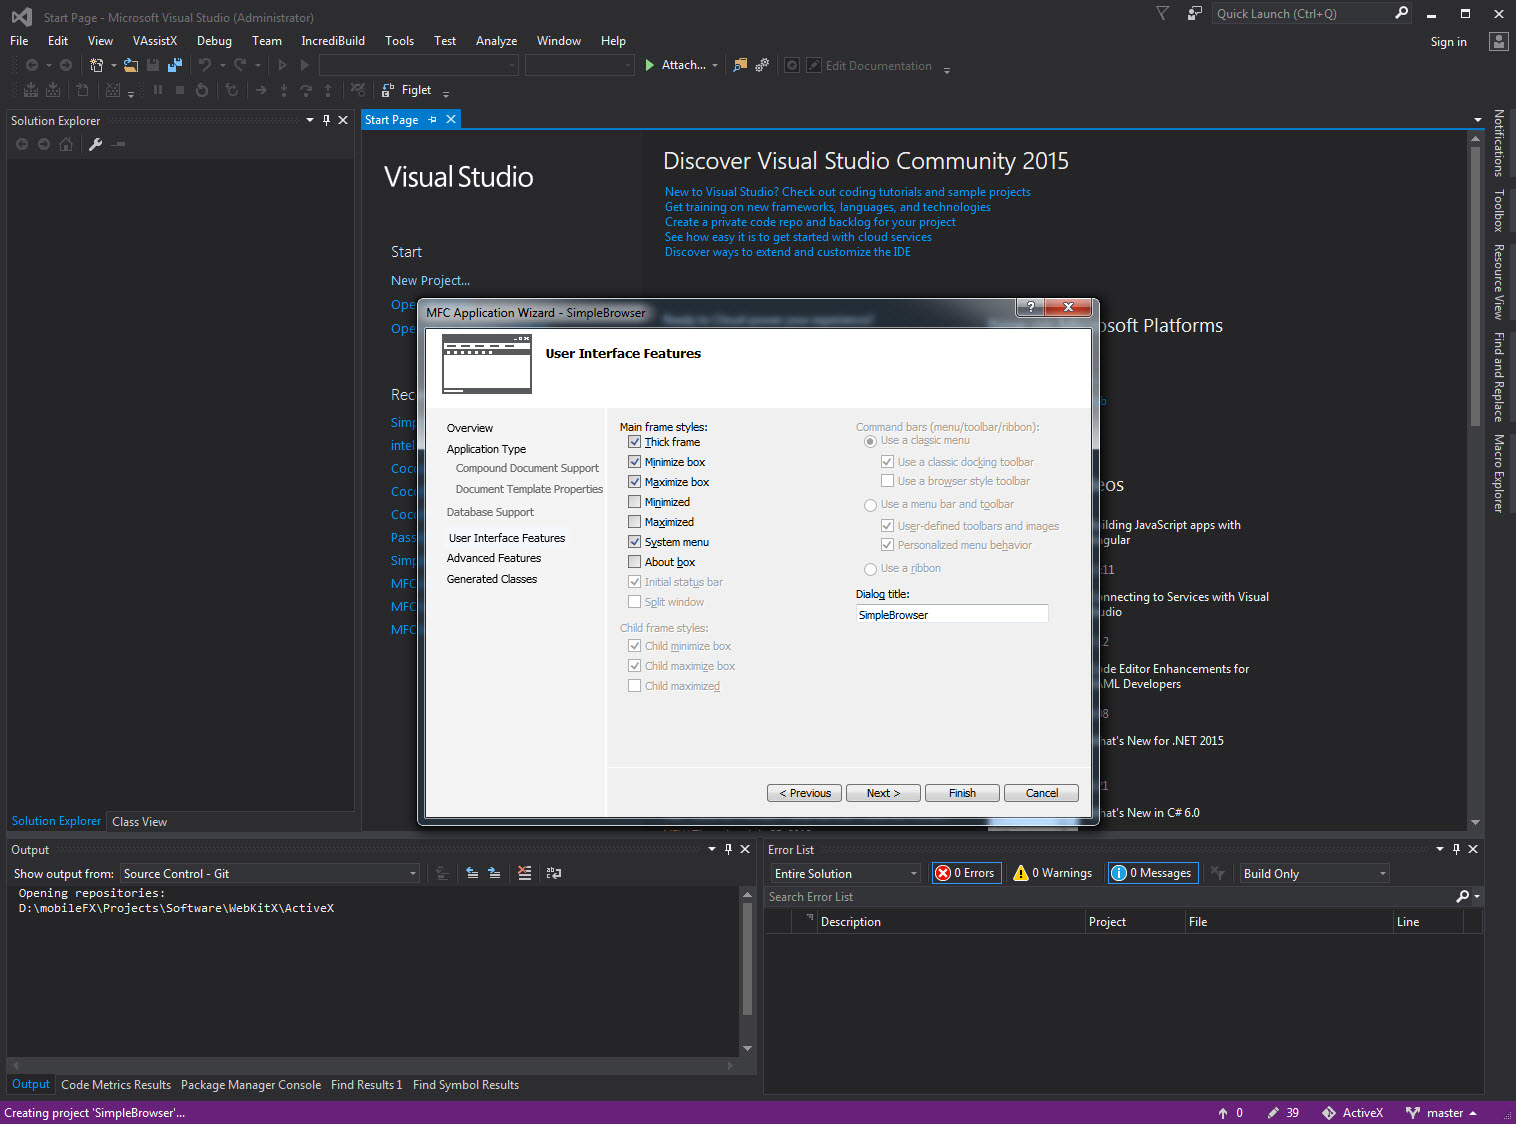
In User Interface screen, check Minimize box and Maximize box and click Next.
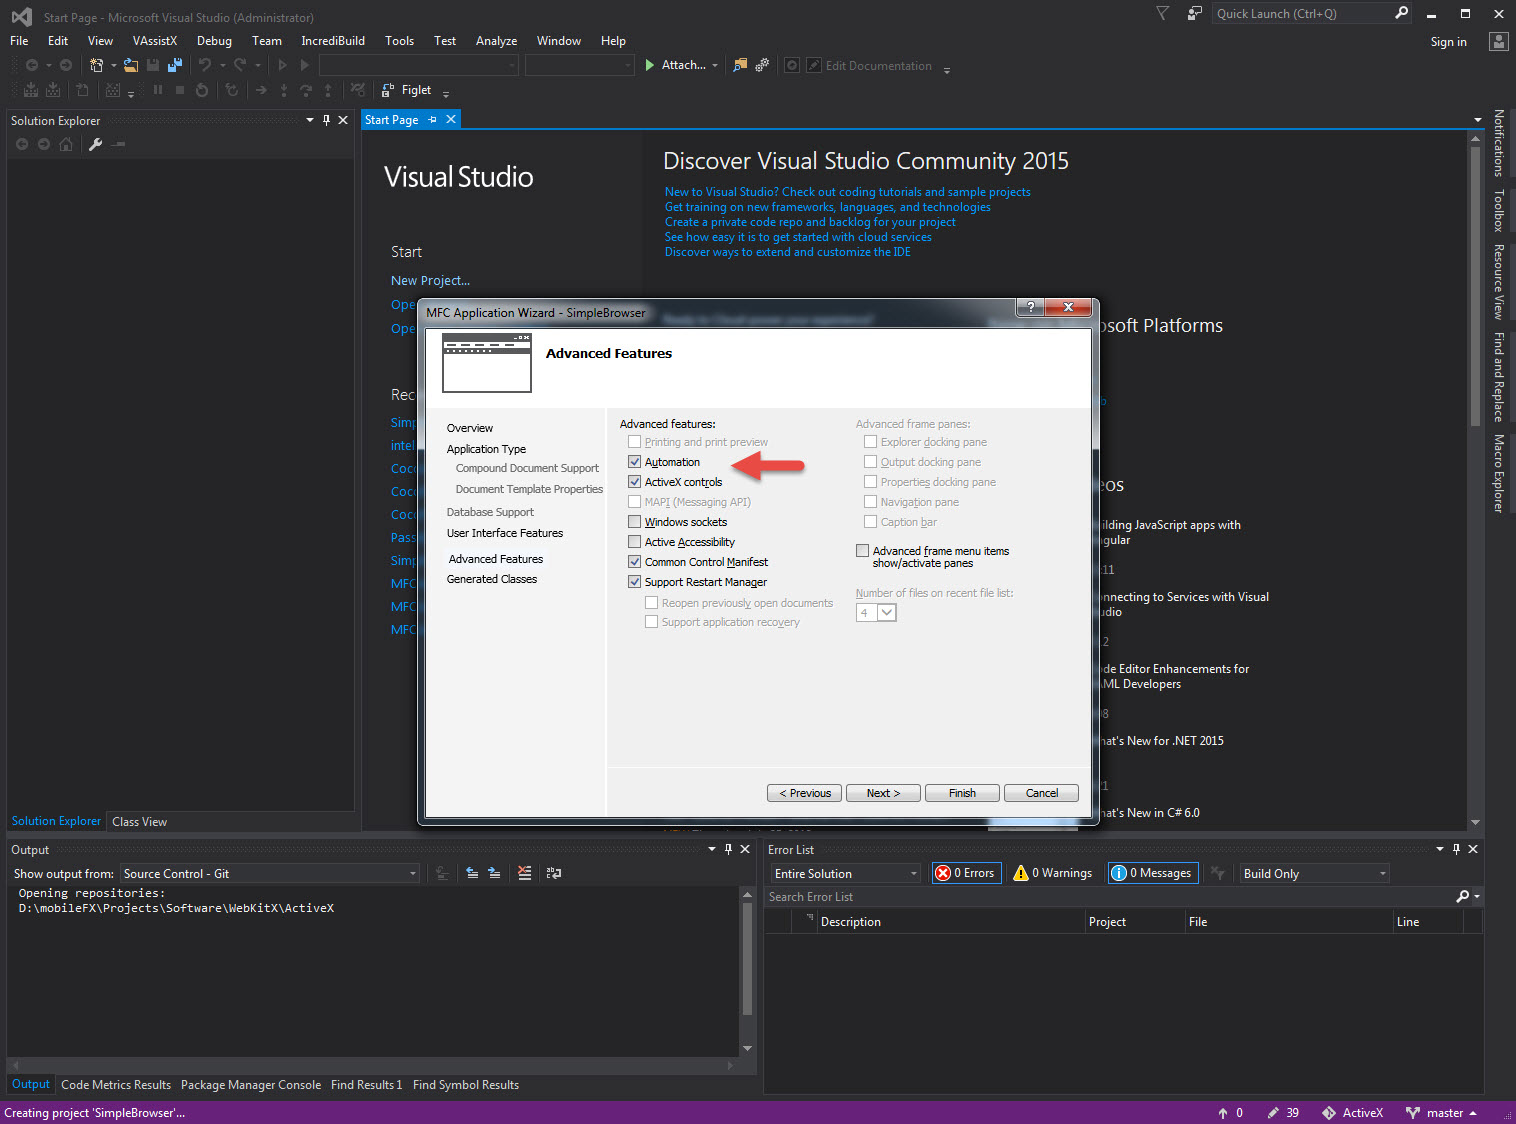
In Advanced Features screen, make sure you check Automation and ActiveX controls and click Finish.
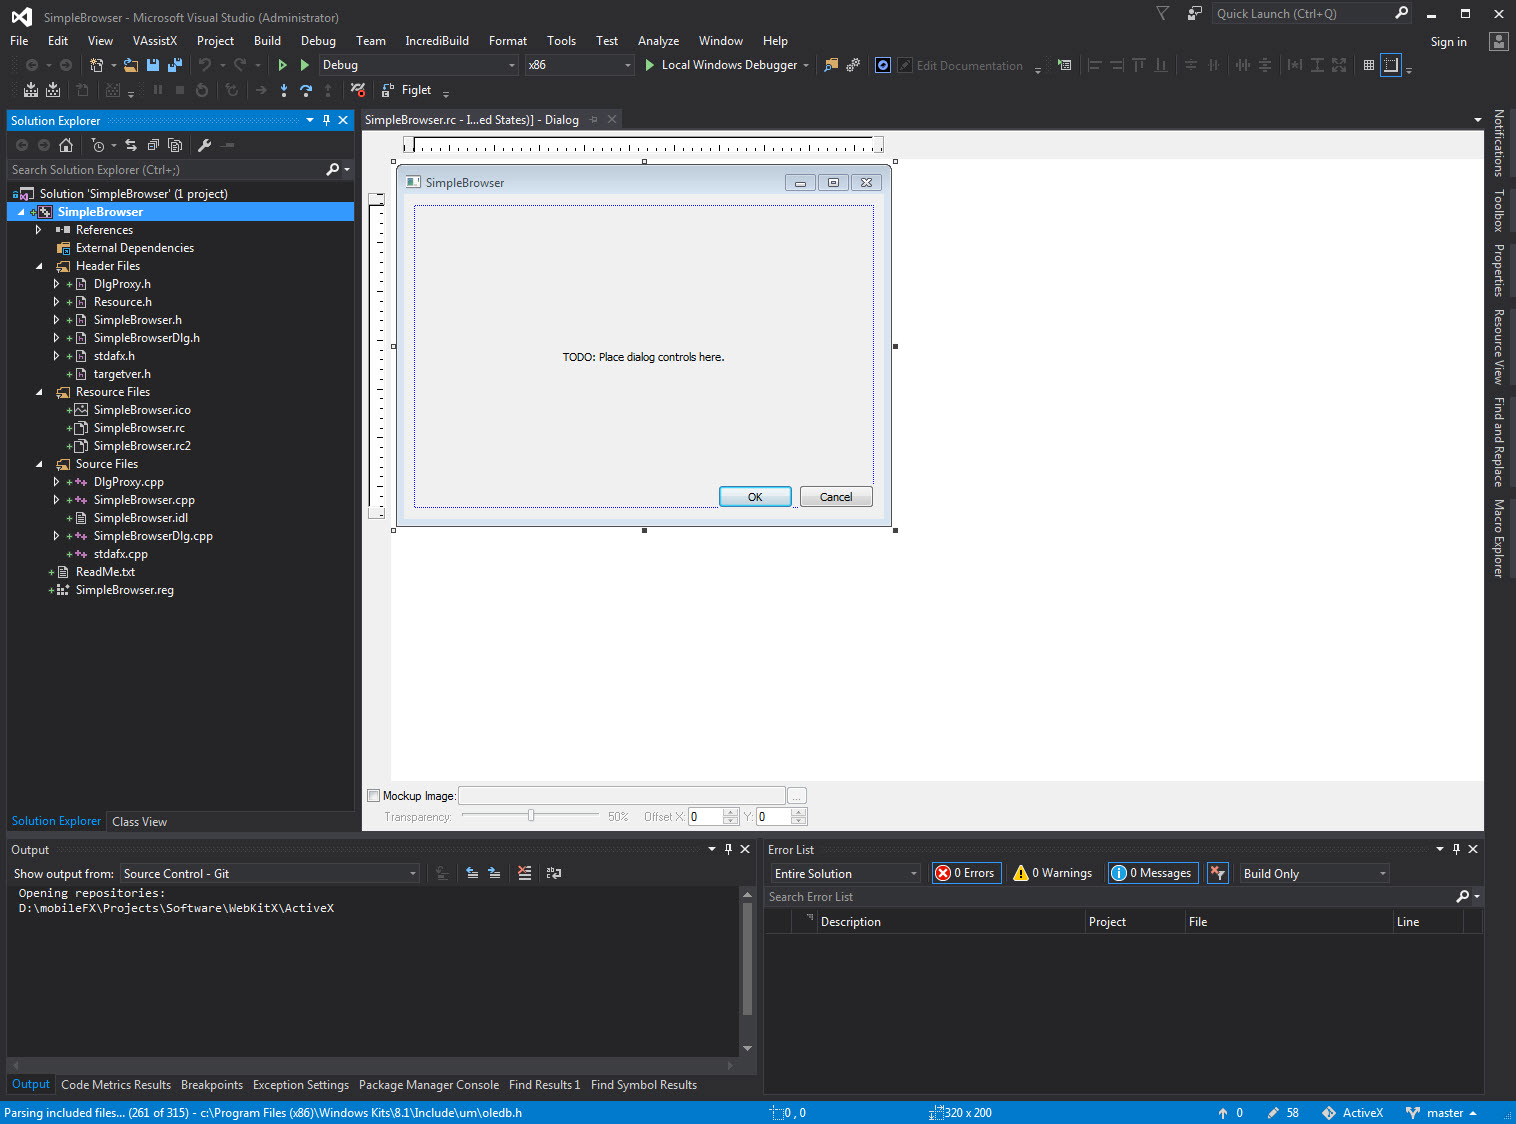
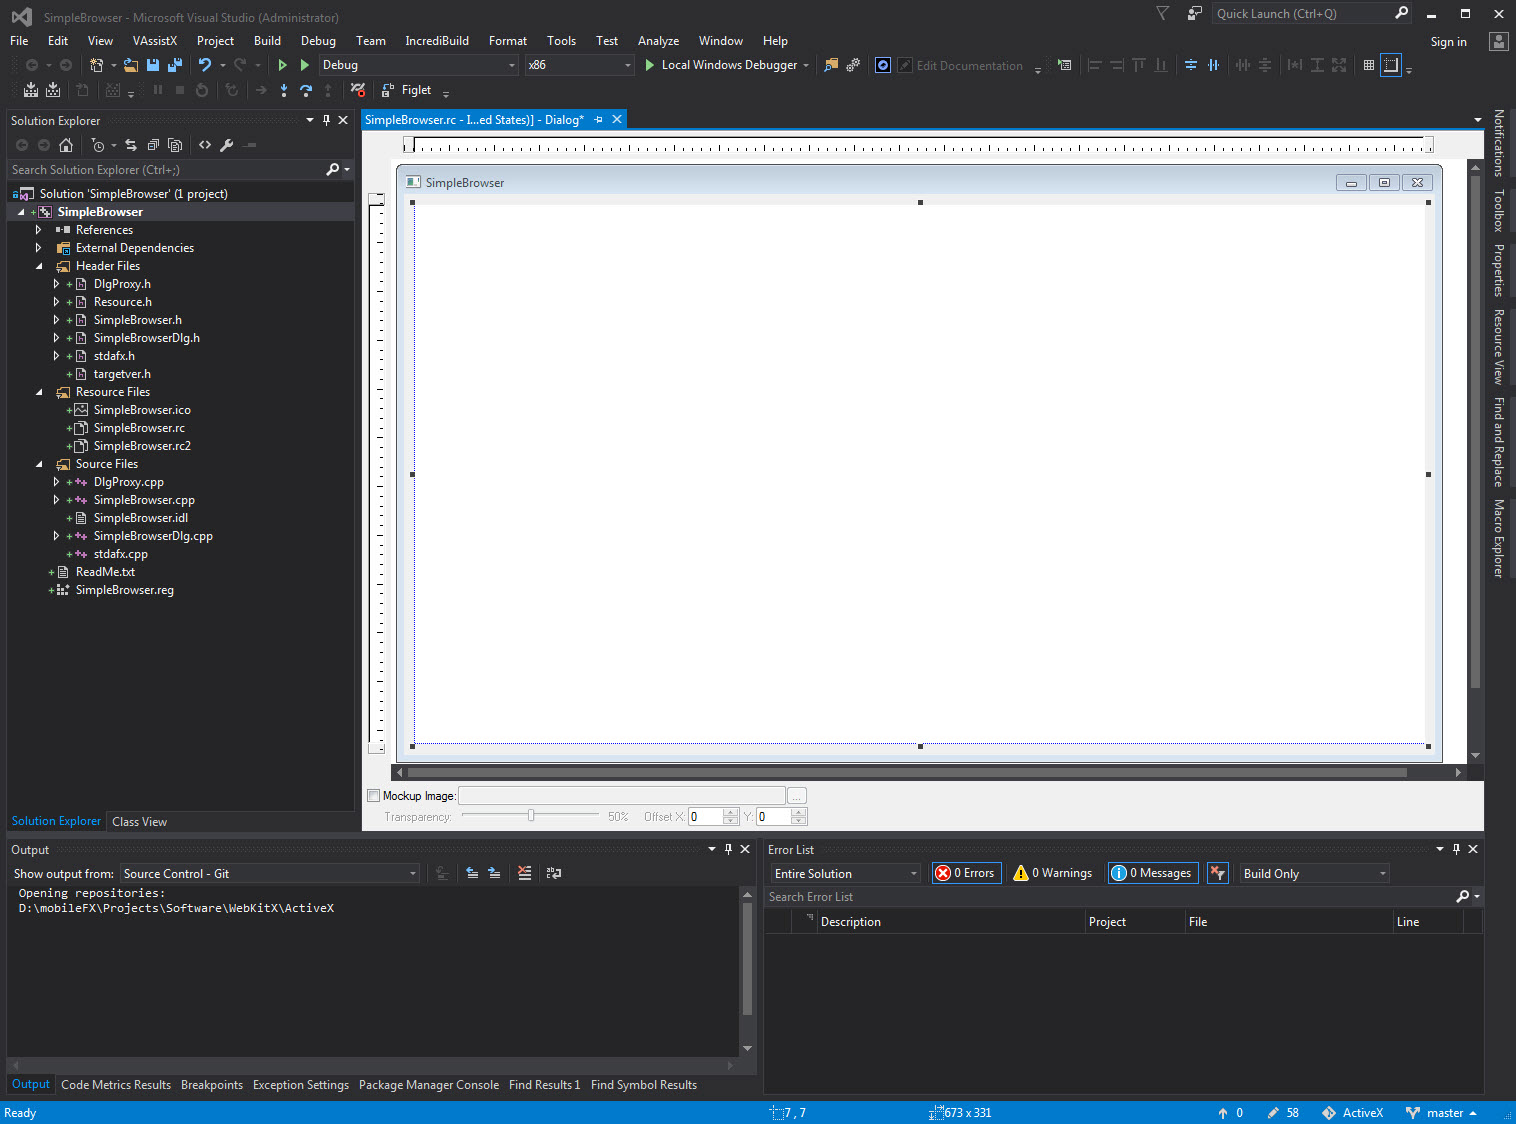
Your application is ready. You will see a new Form in the IDE.
 Next
Next
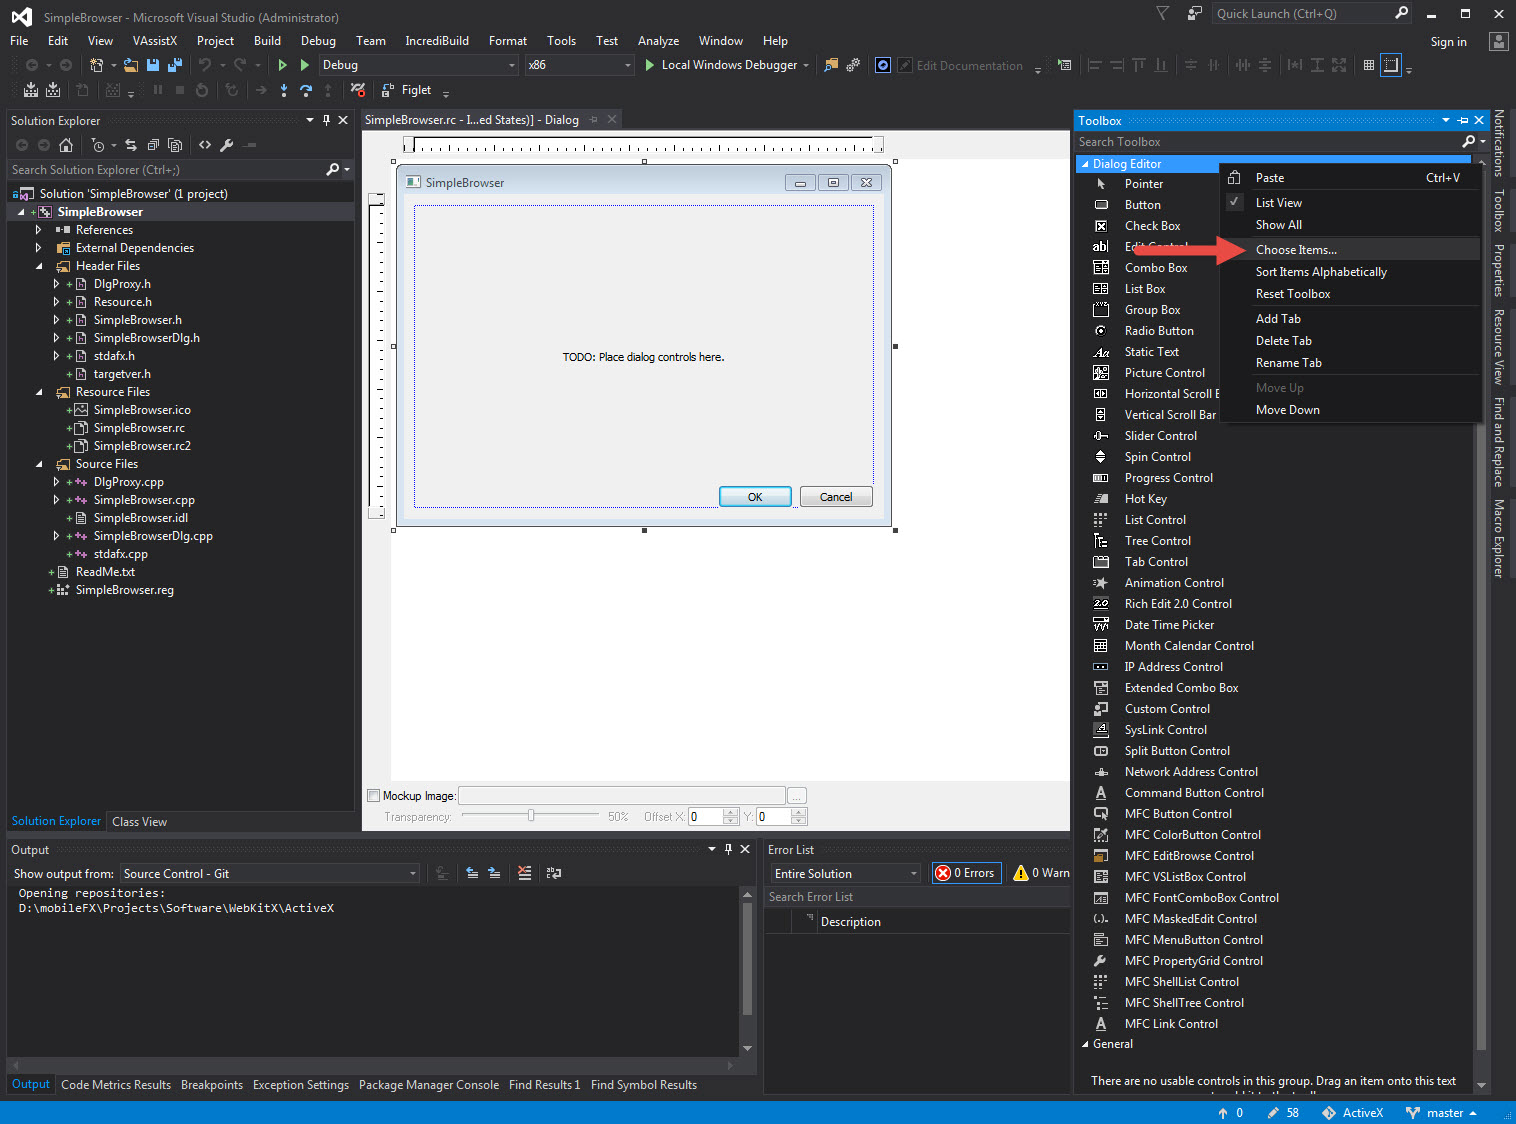
You need to add the WebKitX ActiveX in the Toolbox. Right-click on the Toolbox and click on Chose Items...
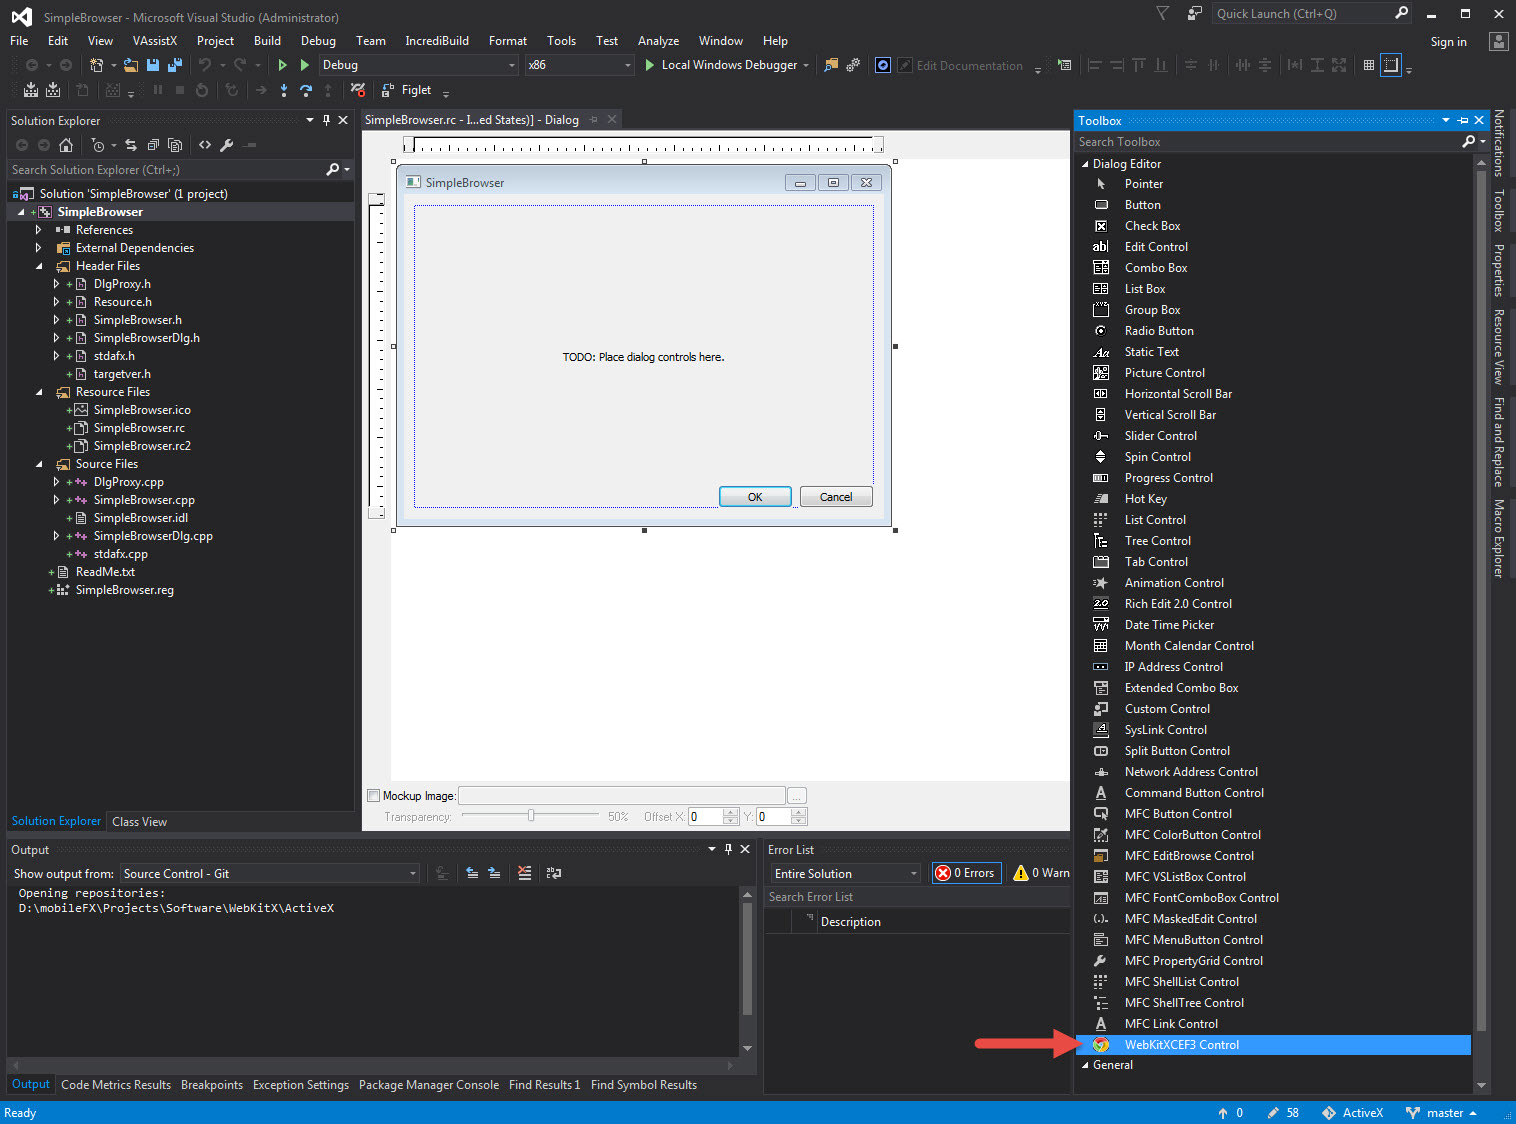
In Choose Toolbox Items dialogue, select the COM Components tab and locate WebKitXCEF3 Control. Make sure you pick version 2.x. Click OK to load the ActiveX.

WebKitX will appear in Toolbox.
Clean the labels and buttons in the form and place WebKitX. Make sure you snap / glue it in the borders.
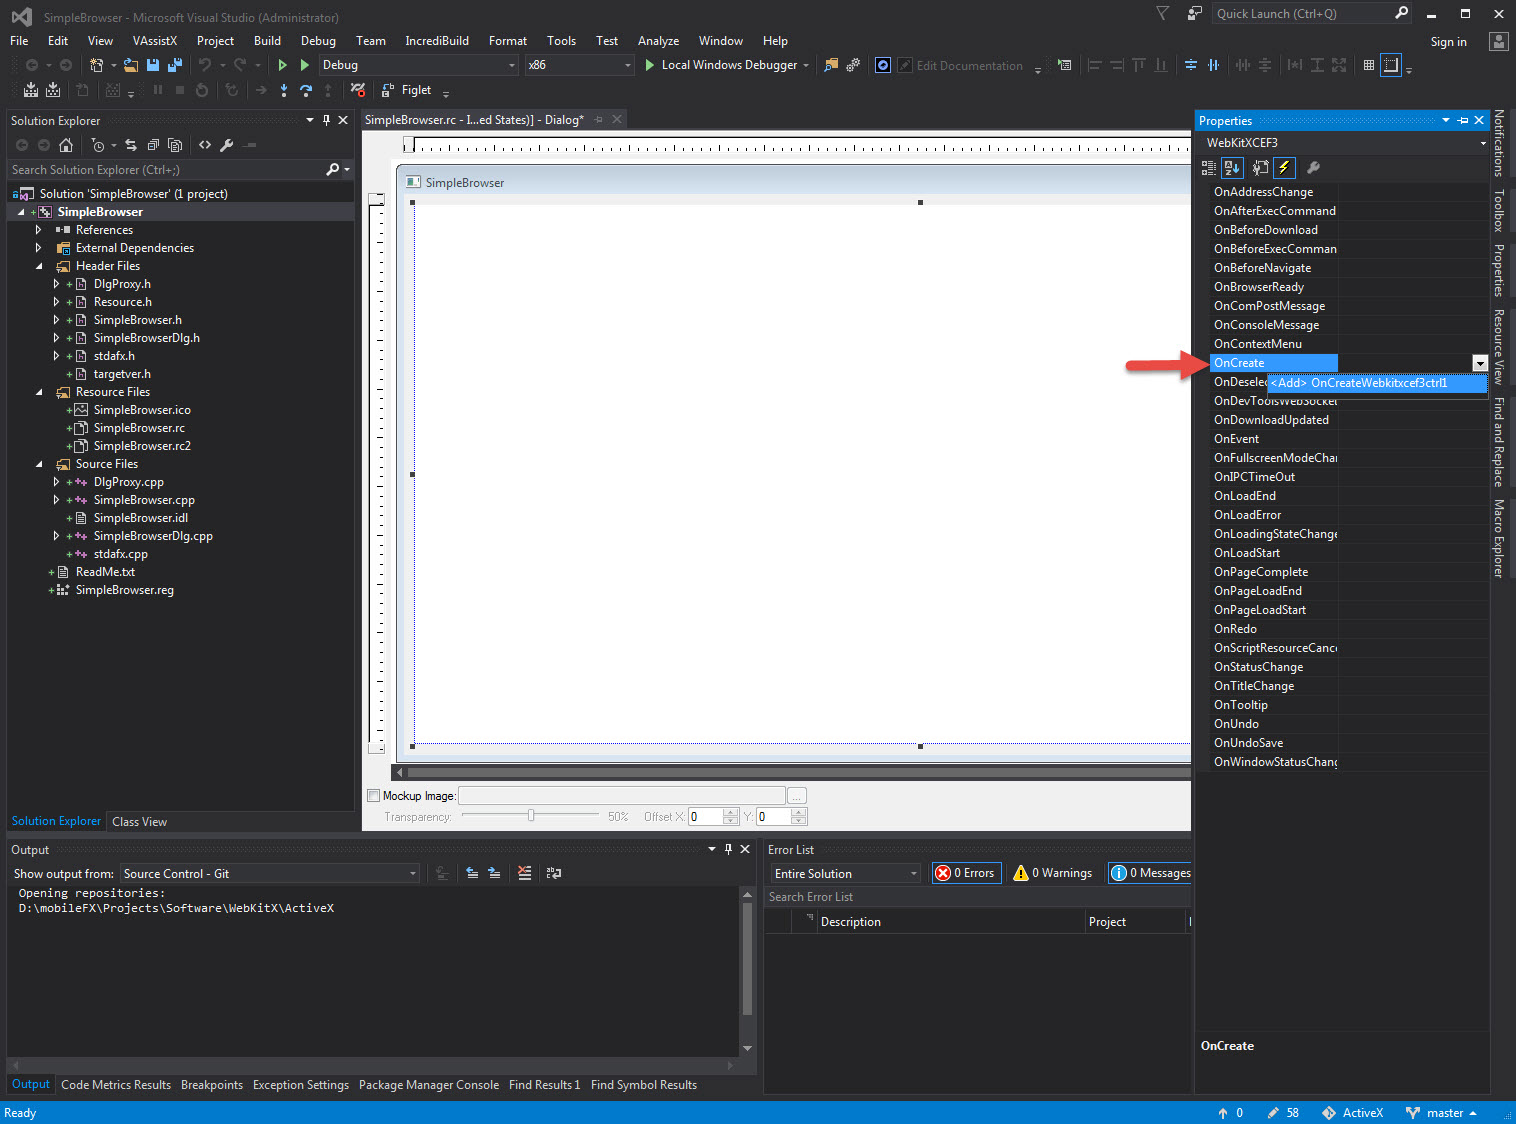
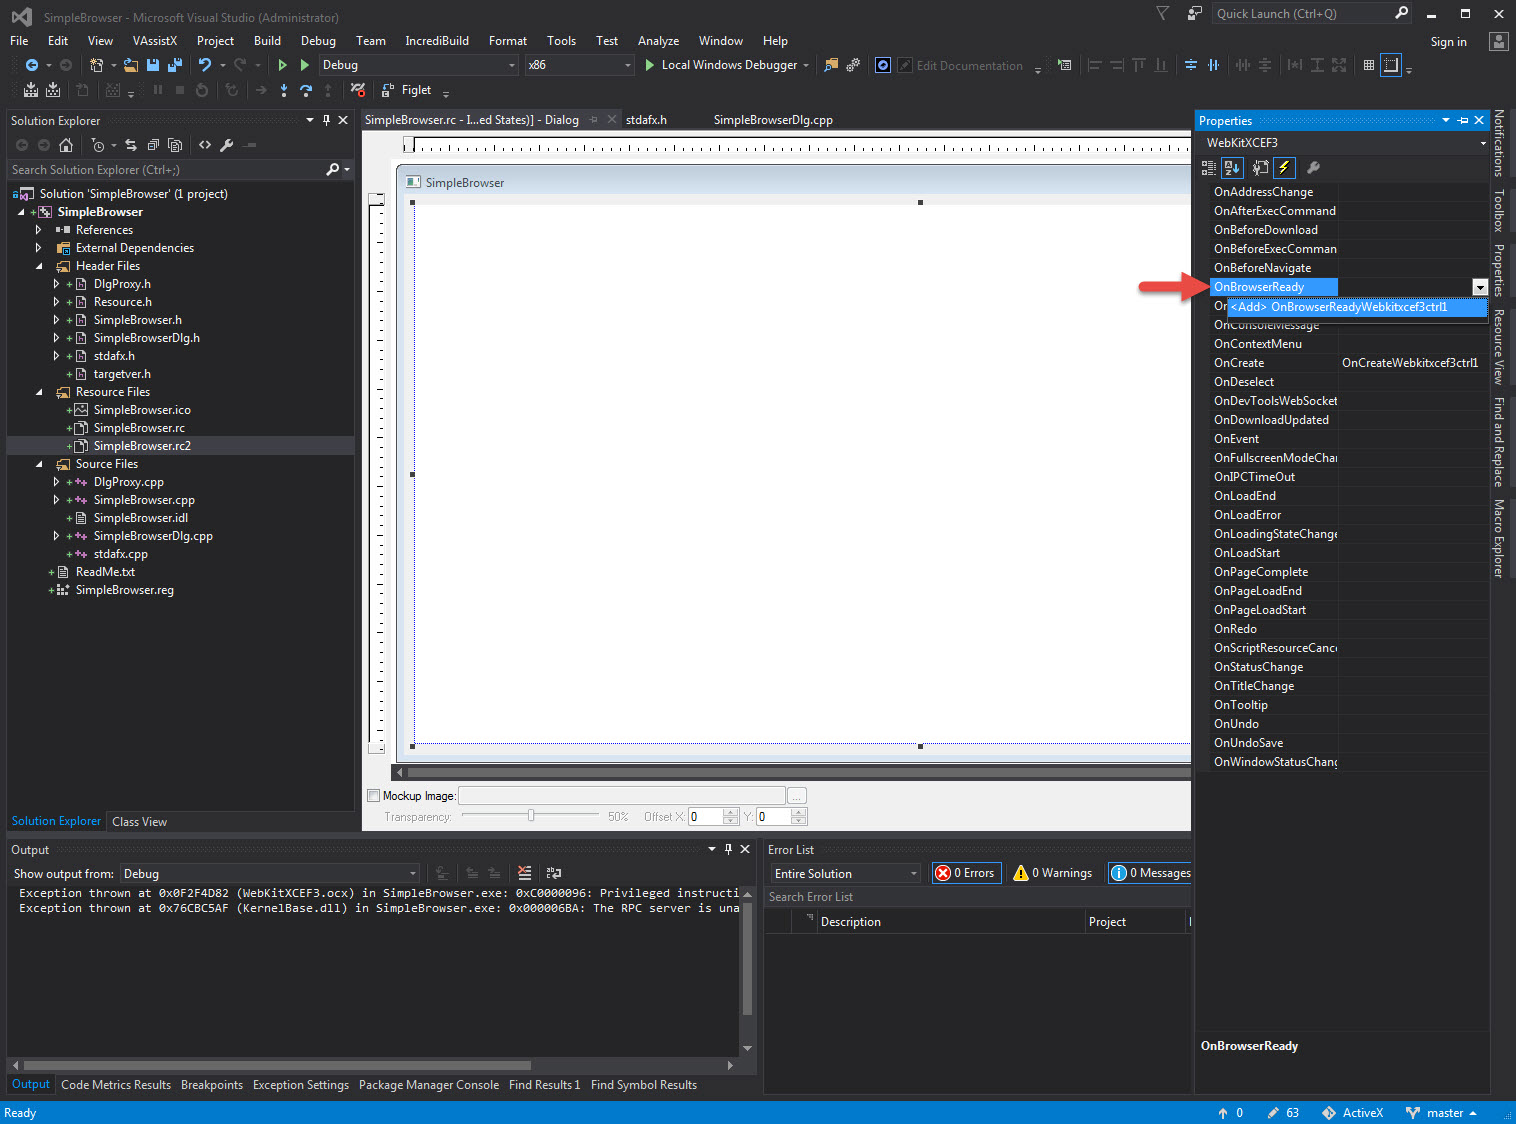
Now it is time to write some code. Bring up the Properties window and select the Events icon (thunder) from the top of the Window. This will display a list of all WebKitX events.
Locate OnCreate and click the drop-down arrow. Then click the <Add> OnCreateWebkitxcef32ctrl1.
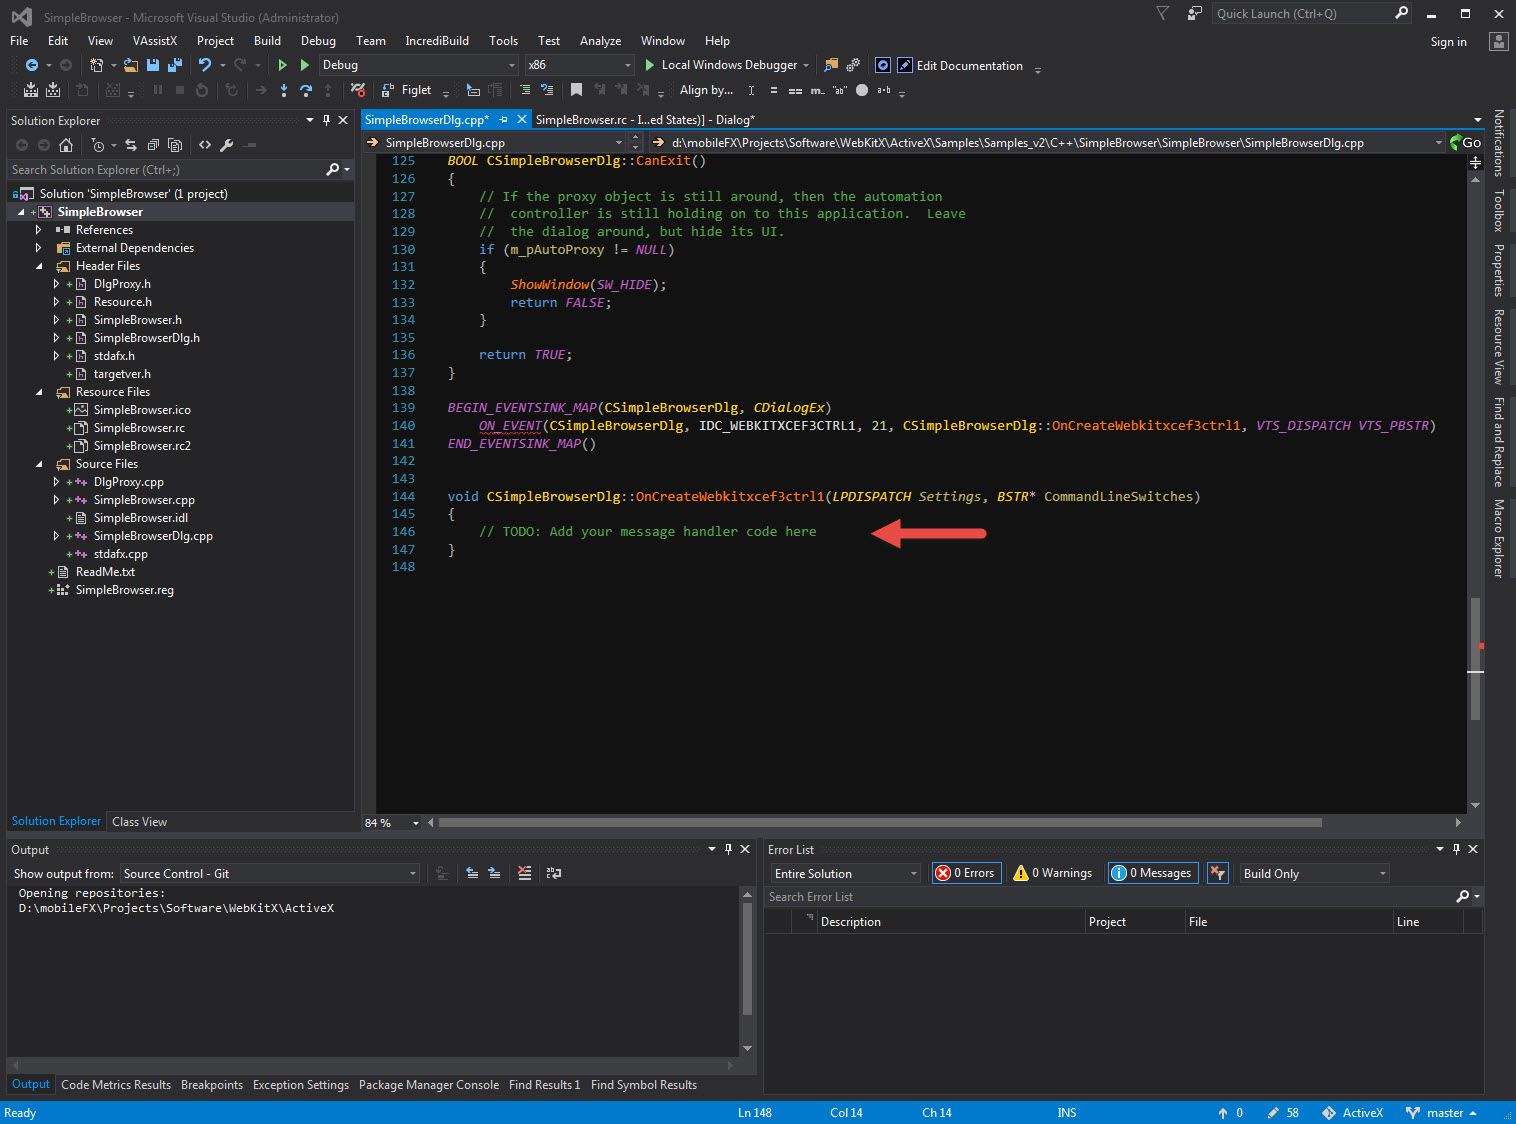
This will generate an event handler as shown above. However, the LPDISPATCH settings is not something we can use and we need to load WebKitX COM Interfaces in order to access the control Properties and Methods.
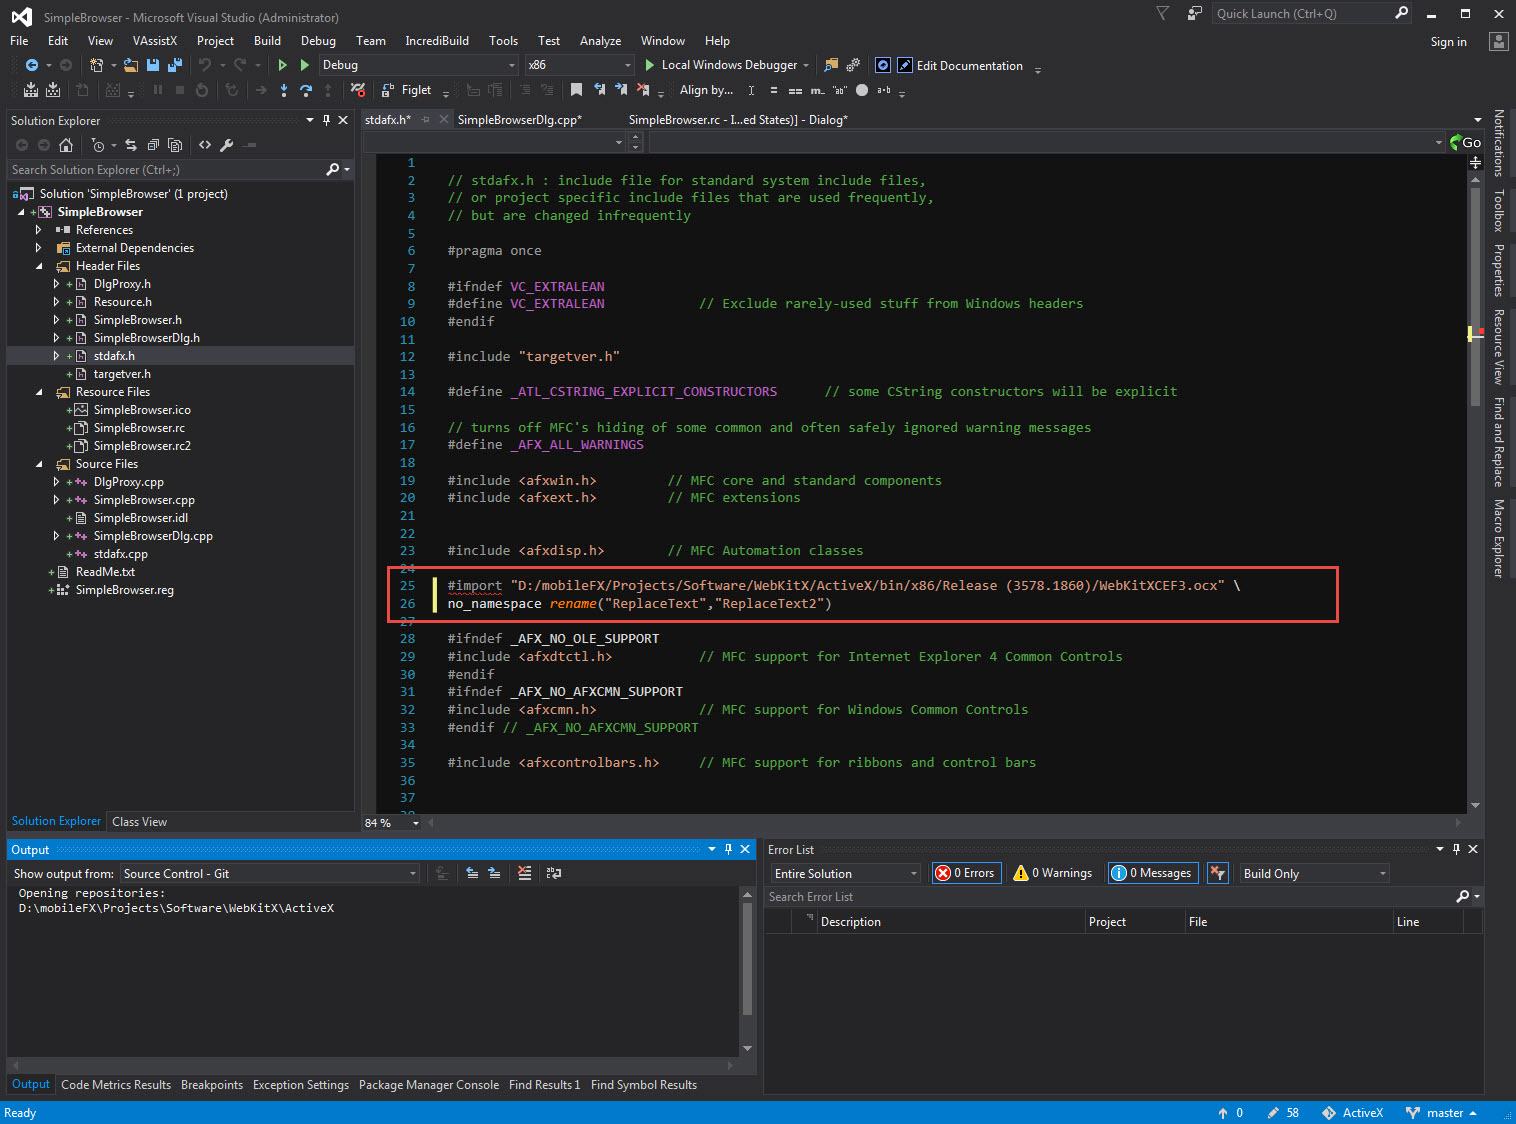
In Solution Explorer locate stdafx.h and use an #import directive to load the ActiveX control .OCX file. Copy paste the code from below and alter the path of the OCX so that it points to the folder you have installed the control.
Please note that you need to use forward slashes in the path.
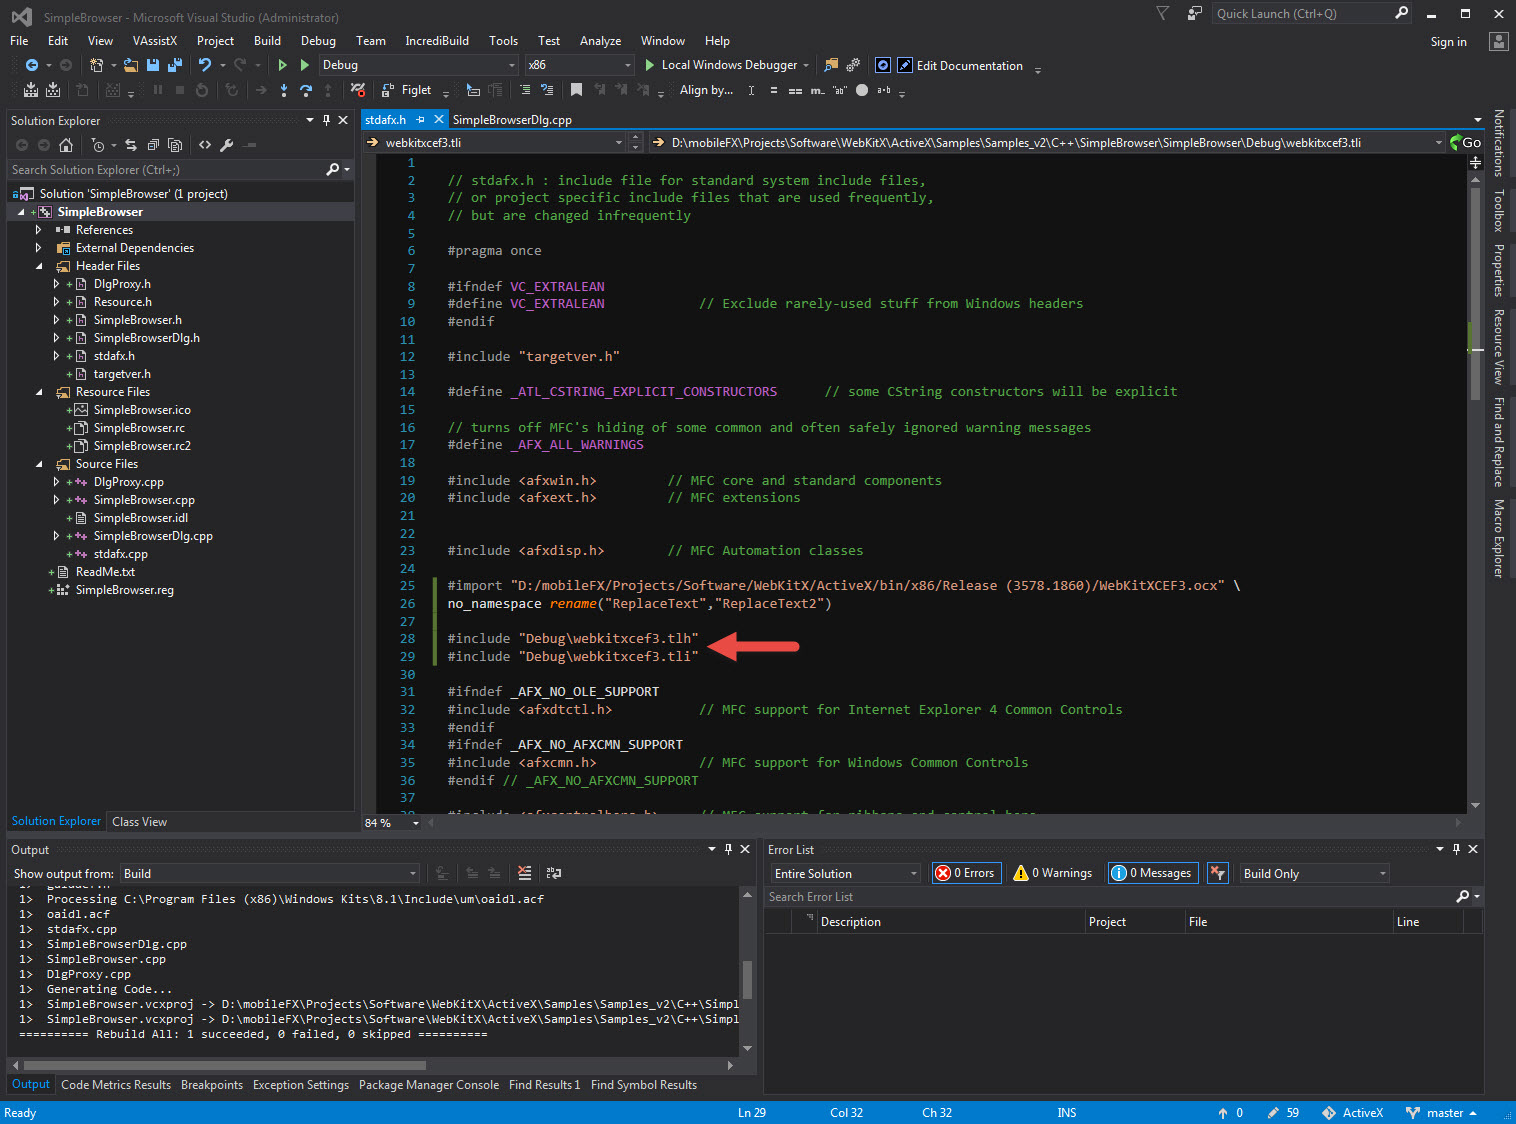
#import "D:/mobileFX/Projects/Software/WebKitX/ActiveX/bin/x86/Release (3578.1860)/WebKitXCEF3.ocx" no_namespace rename("ReplaceText","ReplaceText2")
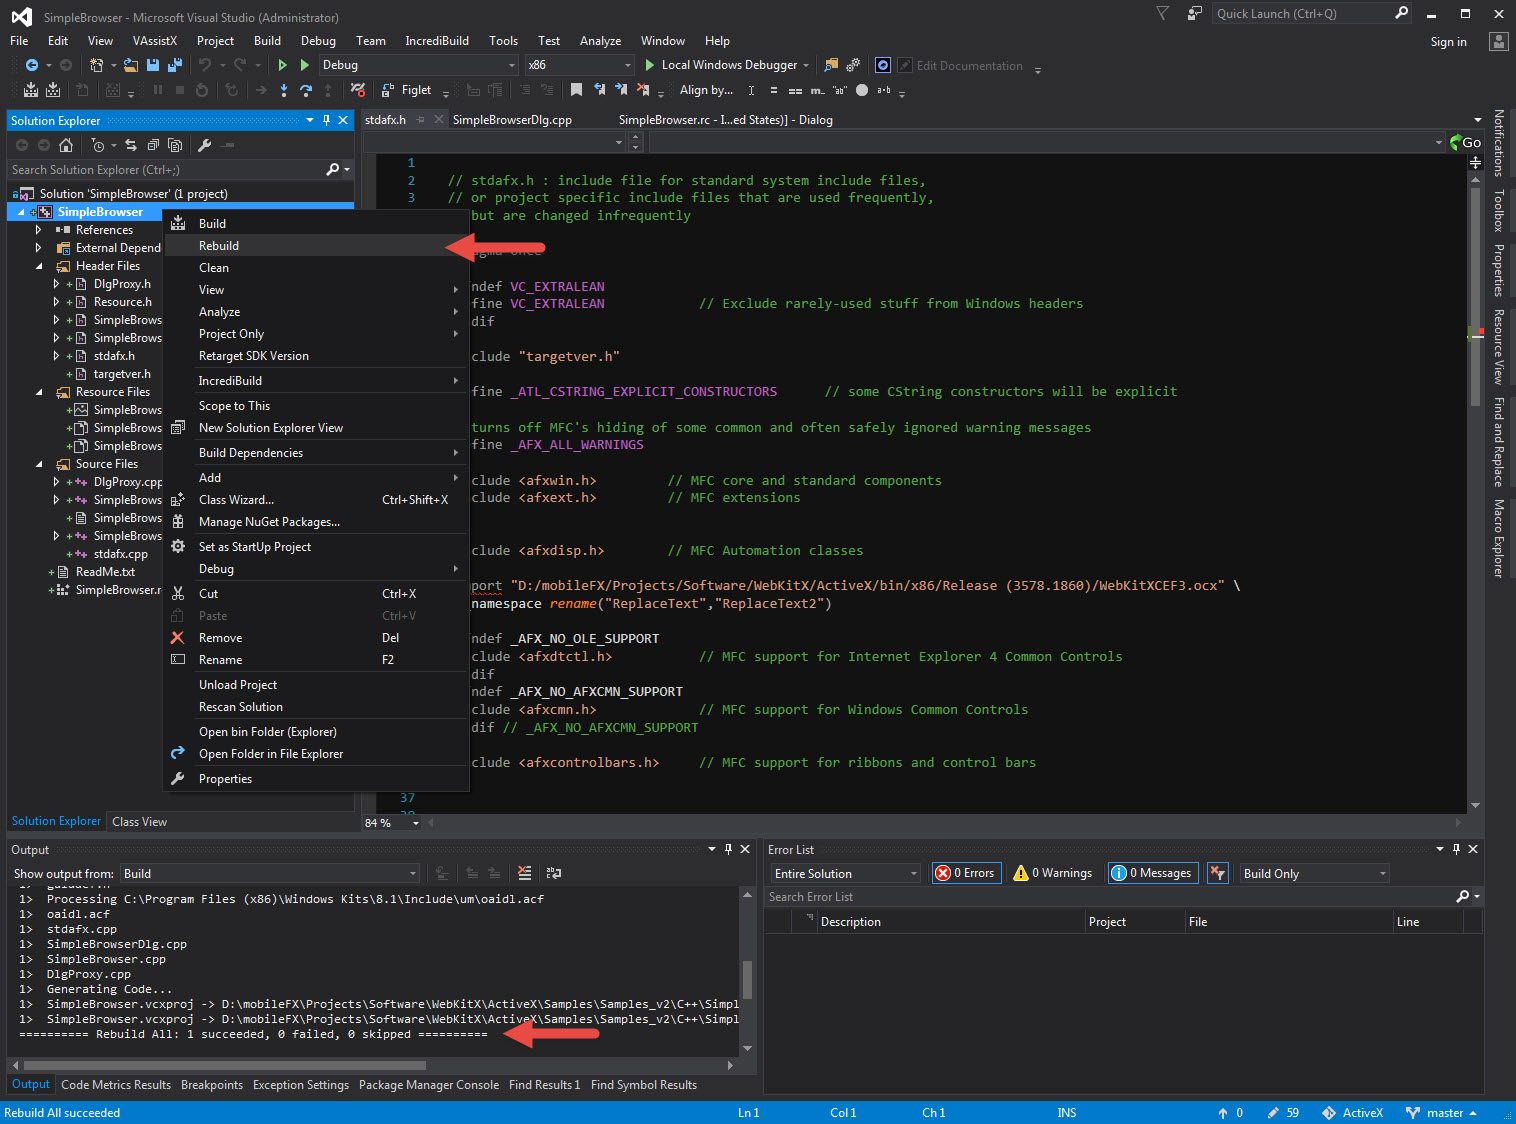
Rebuild your project in order to import the OCX file and generate the WebKitX wrappers.
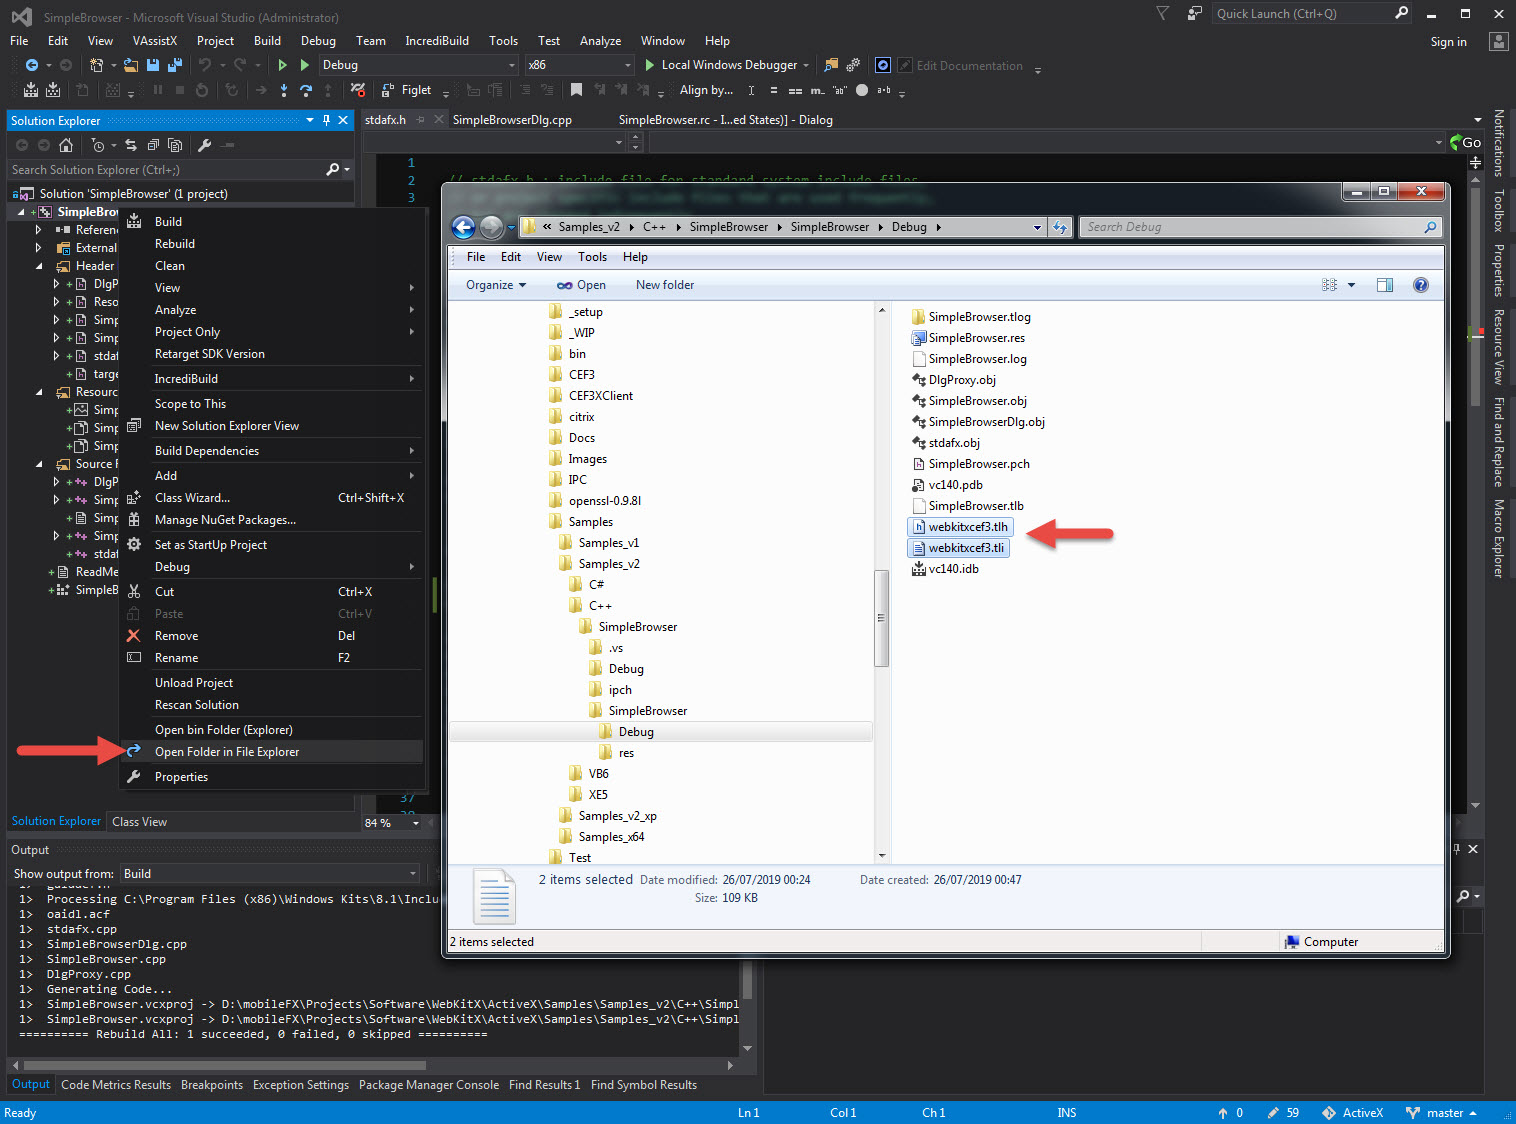
Once you rebuild, files webkitxcef3.tlh and webkitxcef3.tli will be generated in .\Debug folder as illustrated below.
You should include those two files in stdafx.h to allow IntelliSence to locate WebKitX symbols, as illustrated below.
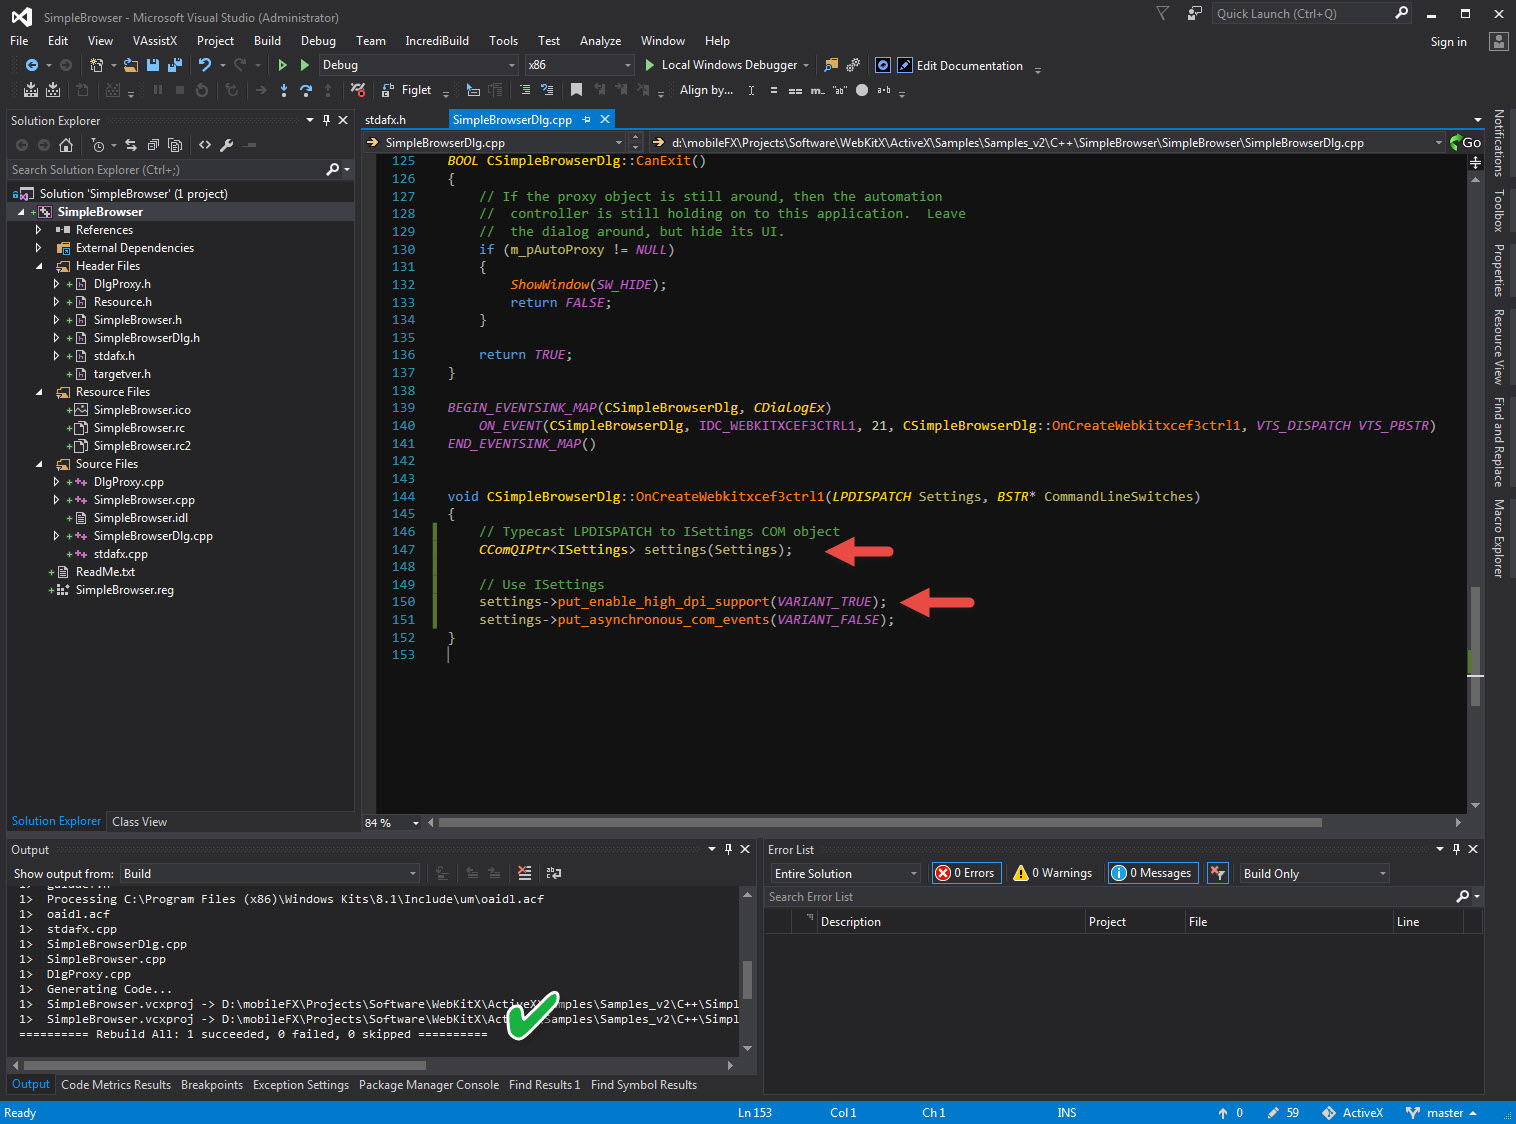
Now it is time to write some code! Use COM Smart Pointer CComQIPtr to wrap LPDISPATCH Settings in it and get a "real" object that you can work with. You can copy-paste the following snippet:
void CSimpleBrowserDlg::OnCreateWebkitxcef3ctrl1(LPDISPATCH Settings, BSTR* CommandLineSwitches)
{
 // Typecast LPDISPATCH to ISettings COM object
 CComQIPtr<ISettings> settings(Settings);
 // Use ISettings
 settings->put_enable_high_dpi_support(VARIANT_TRUE);
 settings->put_asynchronous_com_events(VARIANT_FALSE);
}
You can now build your project.
Now it is time to load a URL. Go back to designer on select the OnBrowserReady event and add an event handler.
To access the control you need to typecast the MFC control to a COM object. To do that you should add a Variable following the instructions on this link, even though it is reported that certain revisions of Visual Studio 2015 and 2017 have a bug that prevents this method from working properly.
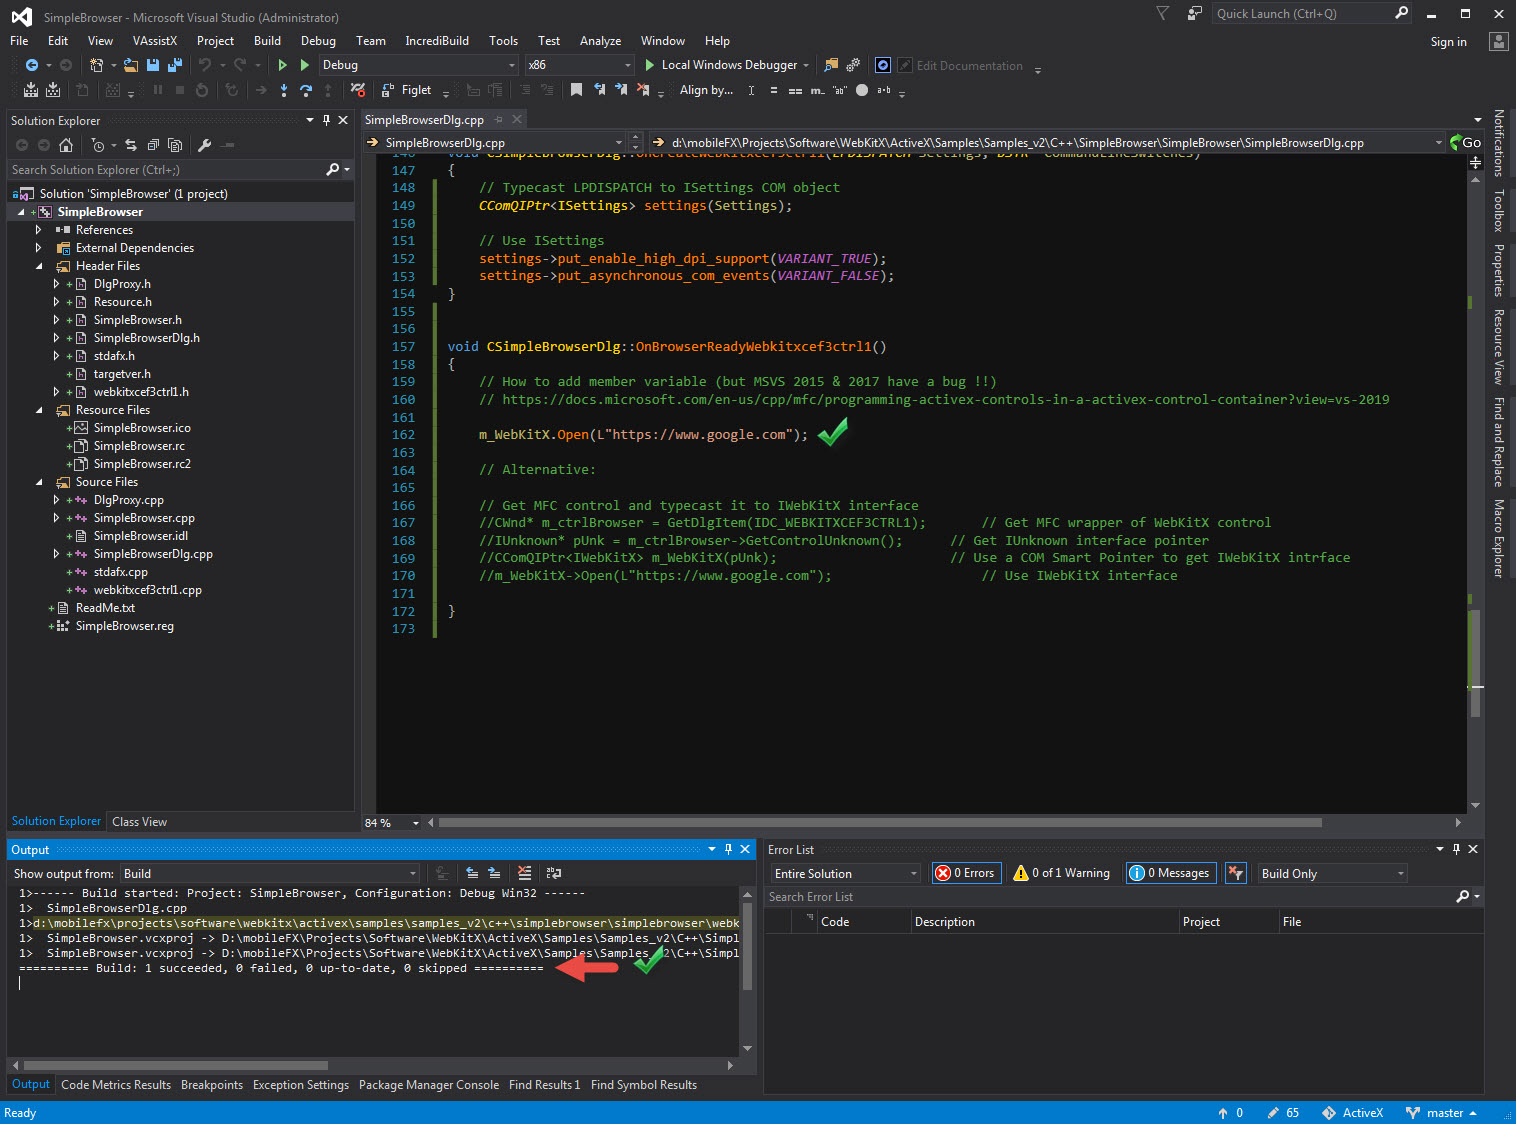
So, lets focus on an alternative first. You can use the following code to typecast MFC control to an ActiveX Interface pointer:
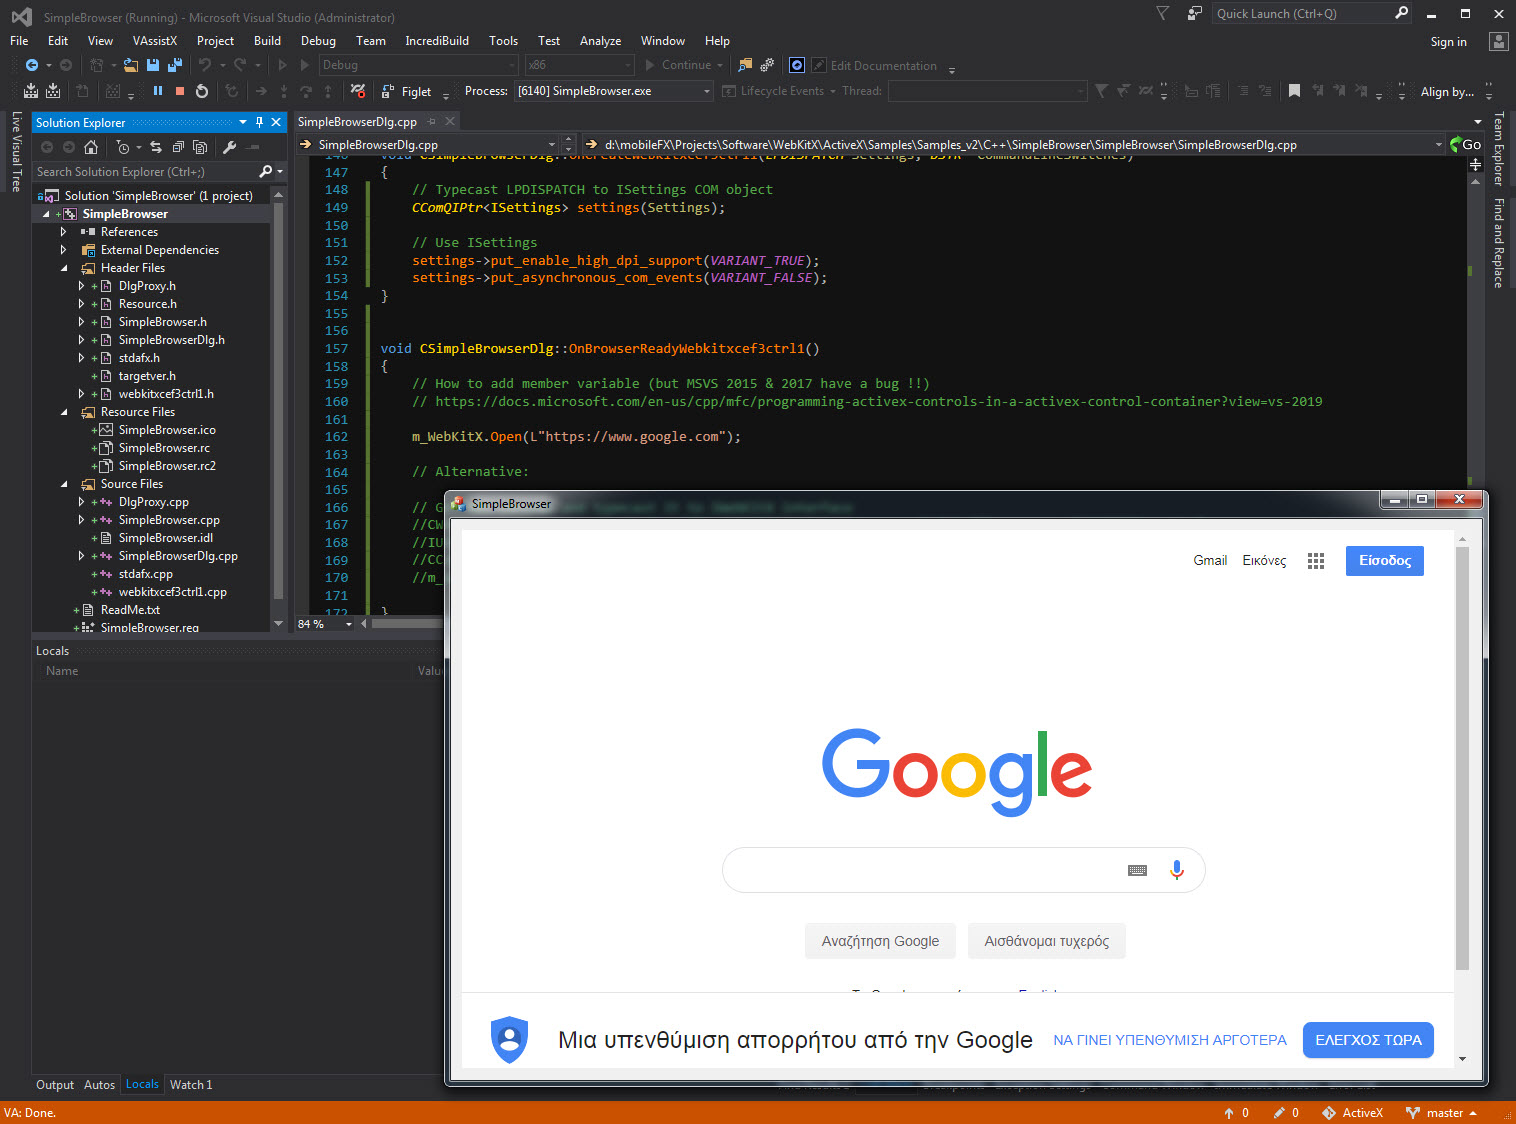
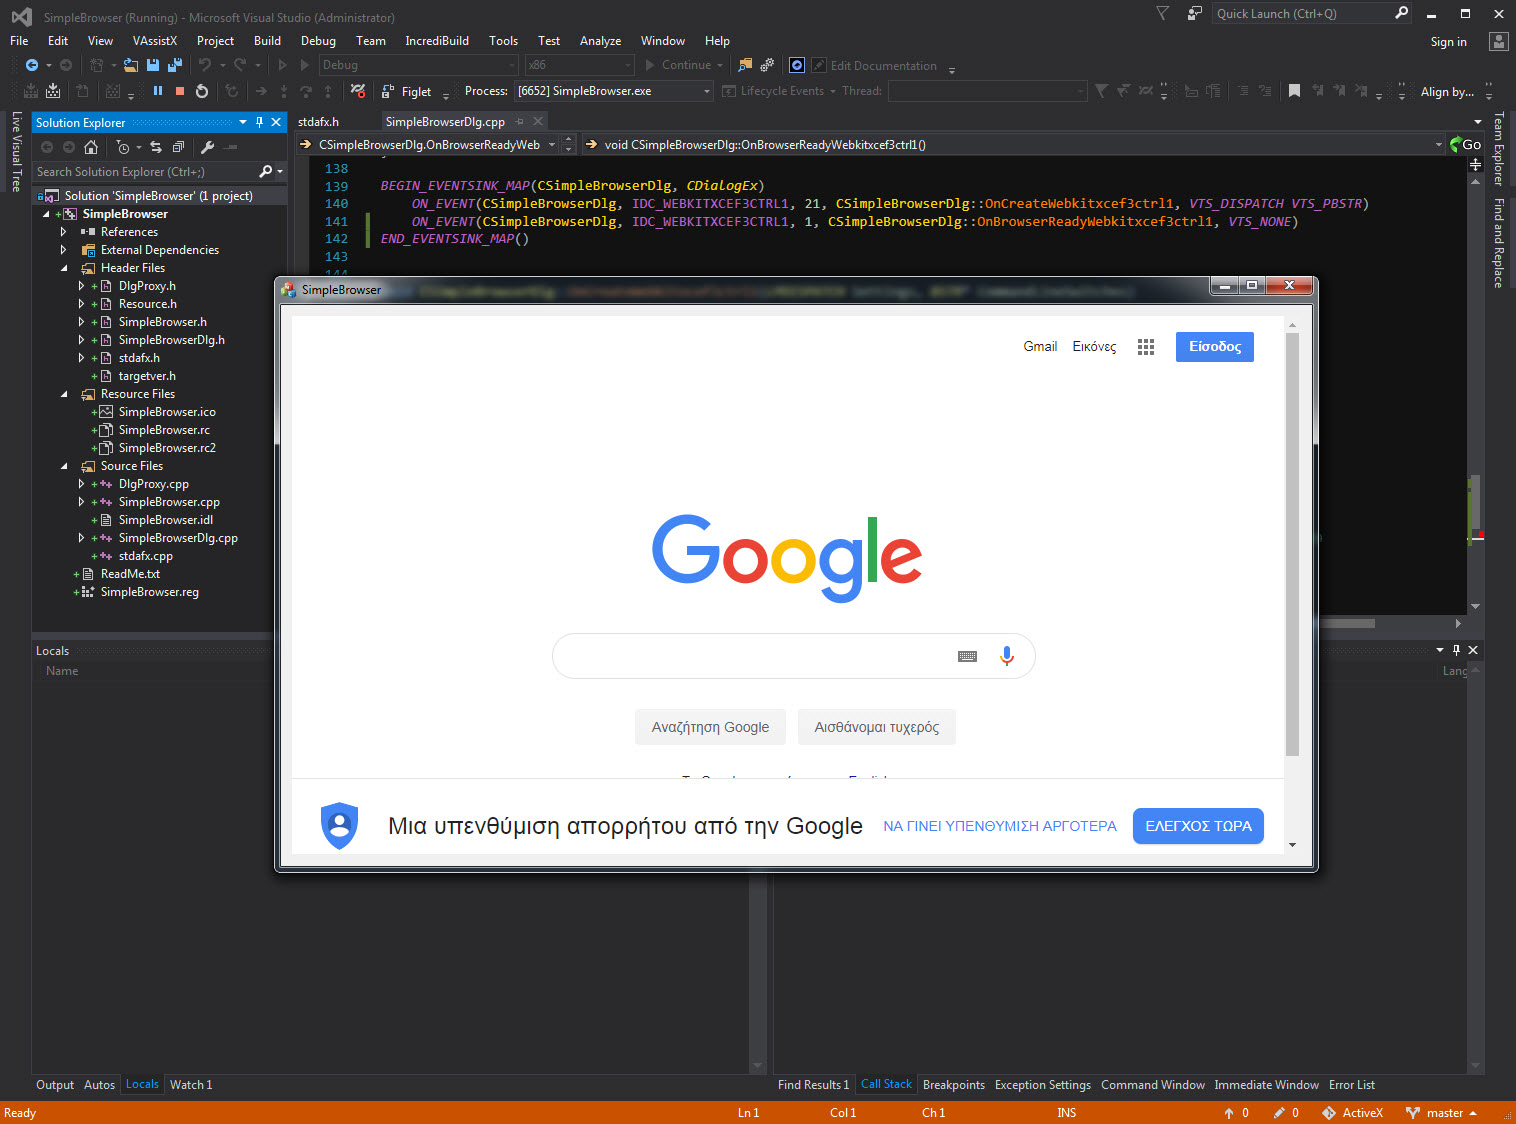
void CSimpleBrowserDlg::OnBrowserReadyWebkitxcef3ctrl1()
{
 // How to add member variable (but MSVS 2015 & 2017 have a bug !!)
 // https://docs.microsoft.com/en-us/cpp/mfc/programming-activex-controls-in-a-activex-control-container?view=vs-2019
 //m_WebKitX.Open(L"https://www.google.com");
 // Alternative:
 // Get MFC control and typecast it to IWebKitX interface
 CWnd* m_ctrlBrowser = GetDlgItem(IDC_WEBKITXCEF3CTRL1);  // Get MFC wrapper of WebKitX control
 IUnknown* pUnk = m_ctrlBrowser->GetControlUnknown();   // Get IUnknown interface pointer
 CComQIPtr<IWebKitX> m_WebKitX(pUnk);       // Use a COM Smart Pointer to get IWebKitX interface
 m_WebKitX->Open(L"https://www.google.com");     // Use IWebKitX interface
}

Build and run! You should see Google landing page in your simple browser app.
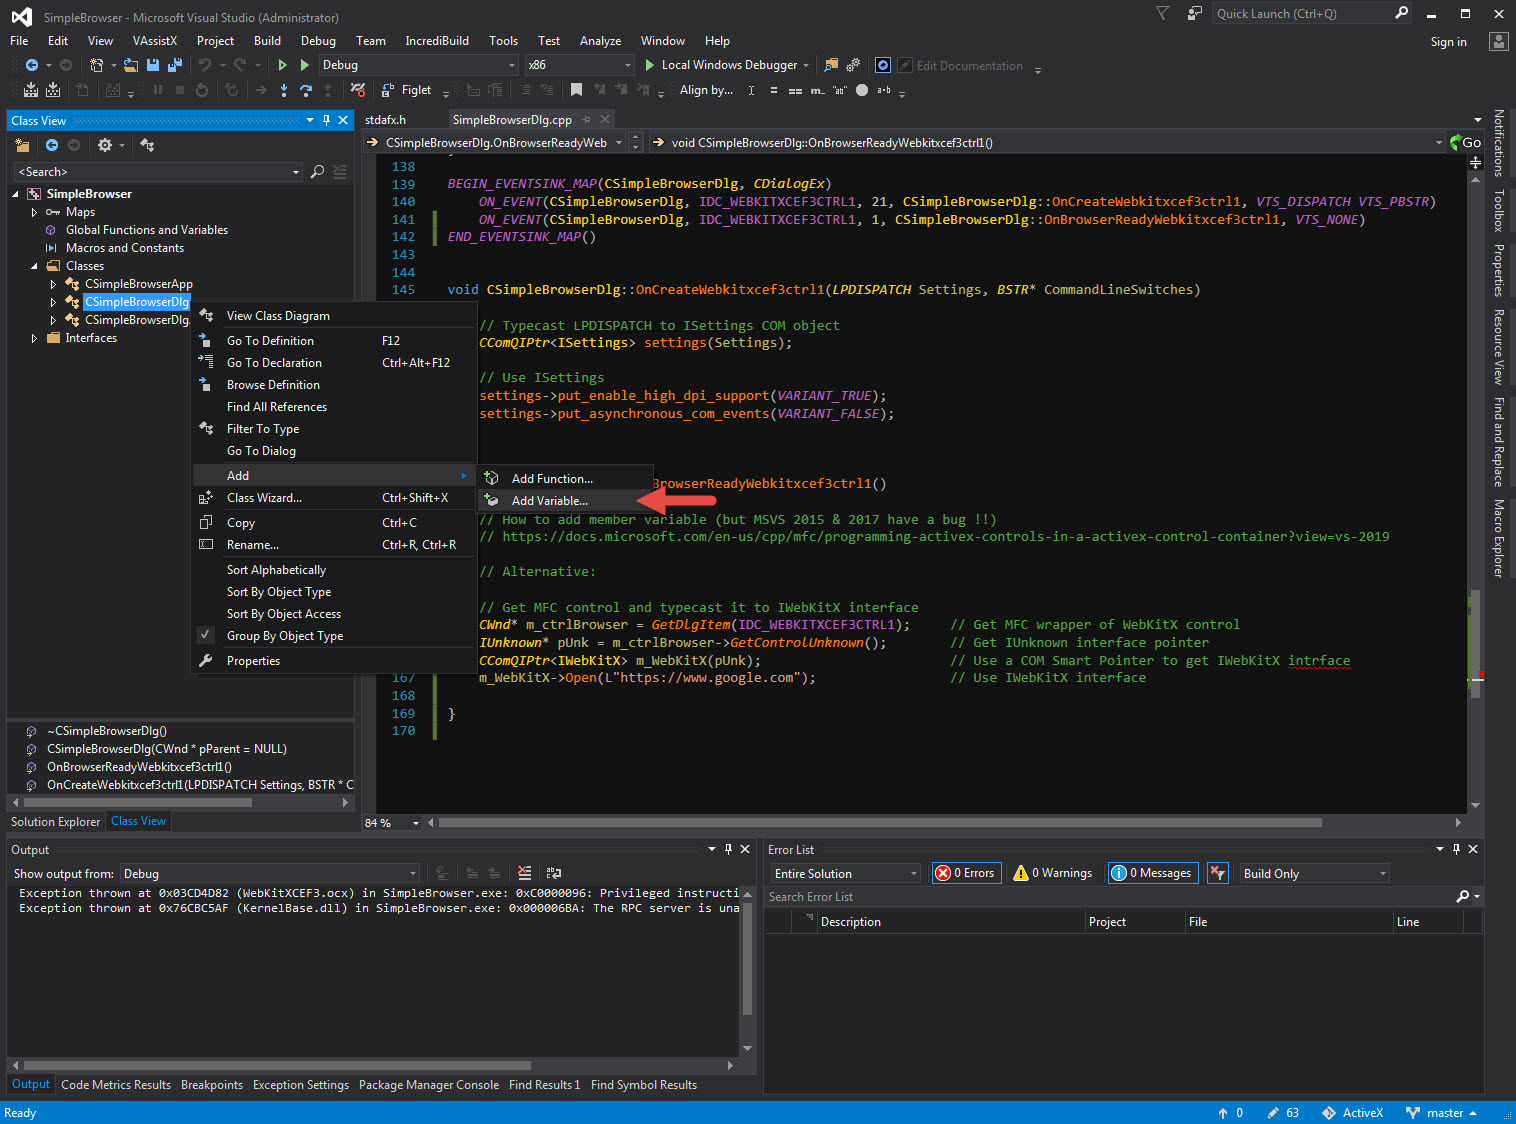
Now, assuming you have a Visual Studio patch that fixes the MFC / COM wrapping variable problems, go to Class View and locate CSimpleBrowserDlg. Right-click on it and click on Add > Add Variable ...
In Add Member Variable Wizard, check the Control Variable checkbox, select Control ID, give your variable a name (eg. m_WebKitX) and click Finish.
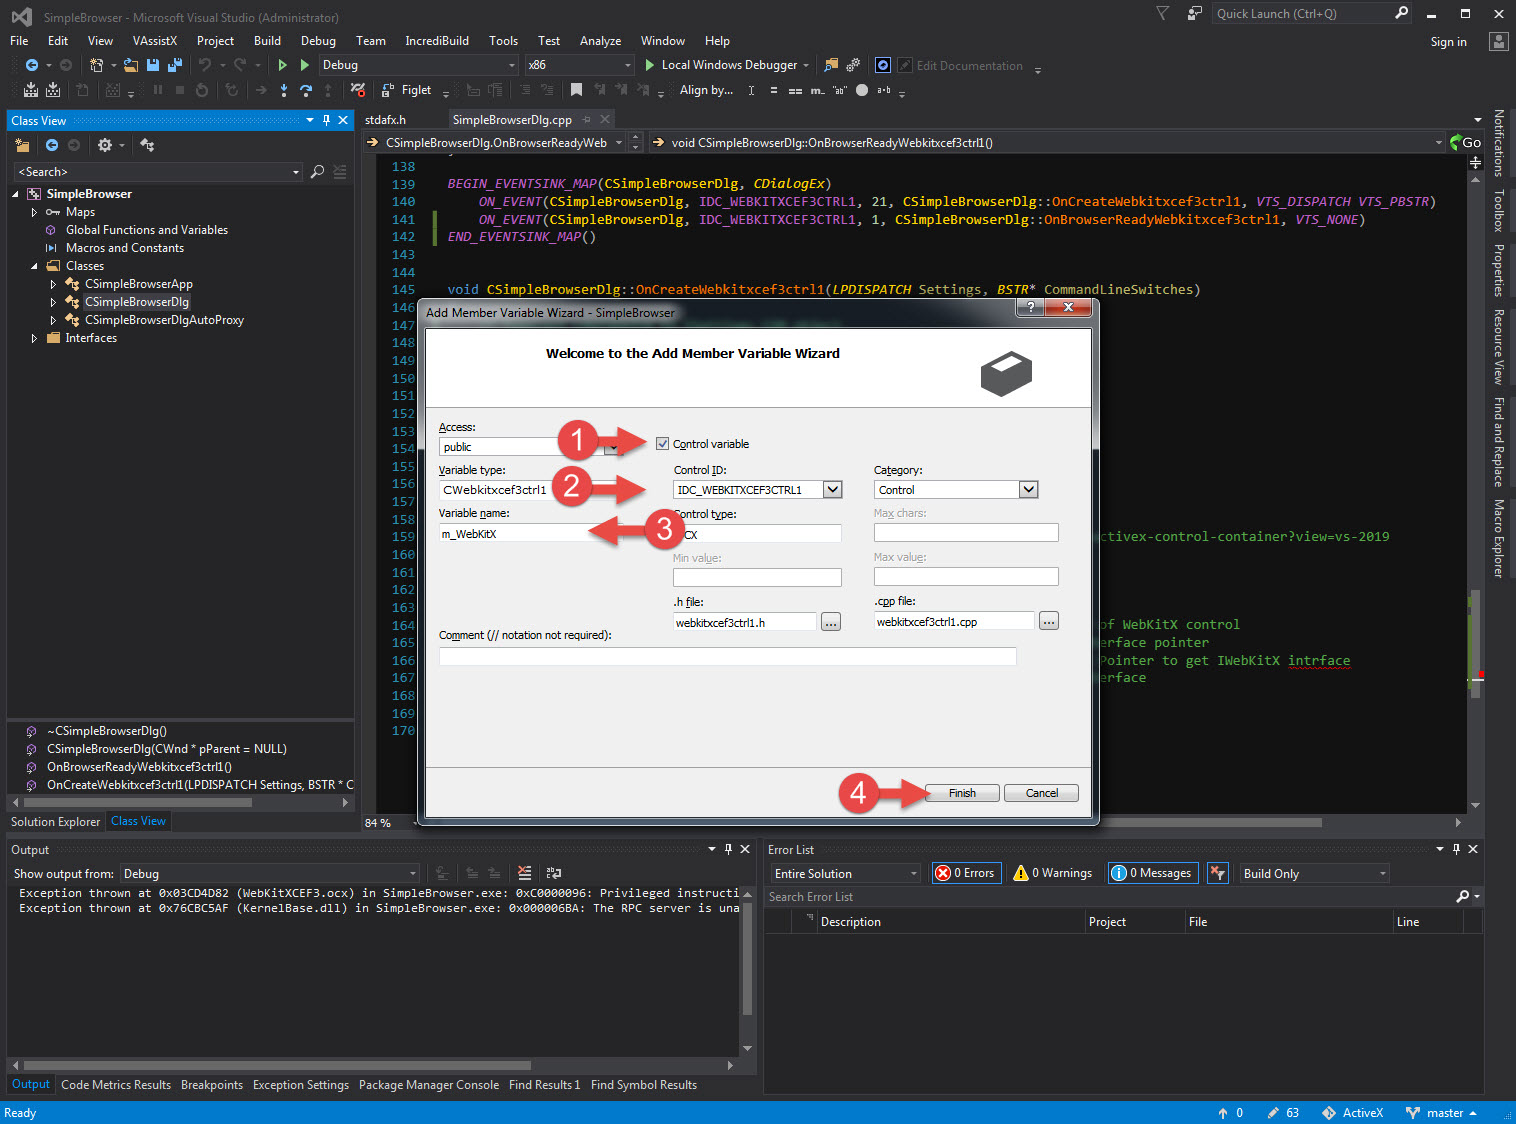
This will add files webkitxcef3ctrl1.h and webkitxcef3ctrl1.cpp in your solution and the control variable in SimpleBrowserDlg.cpp and .h.
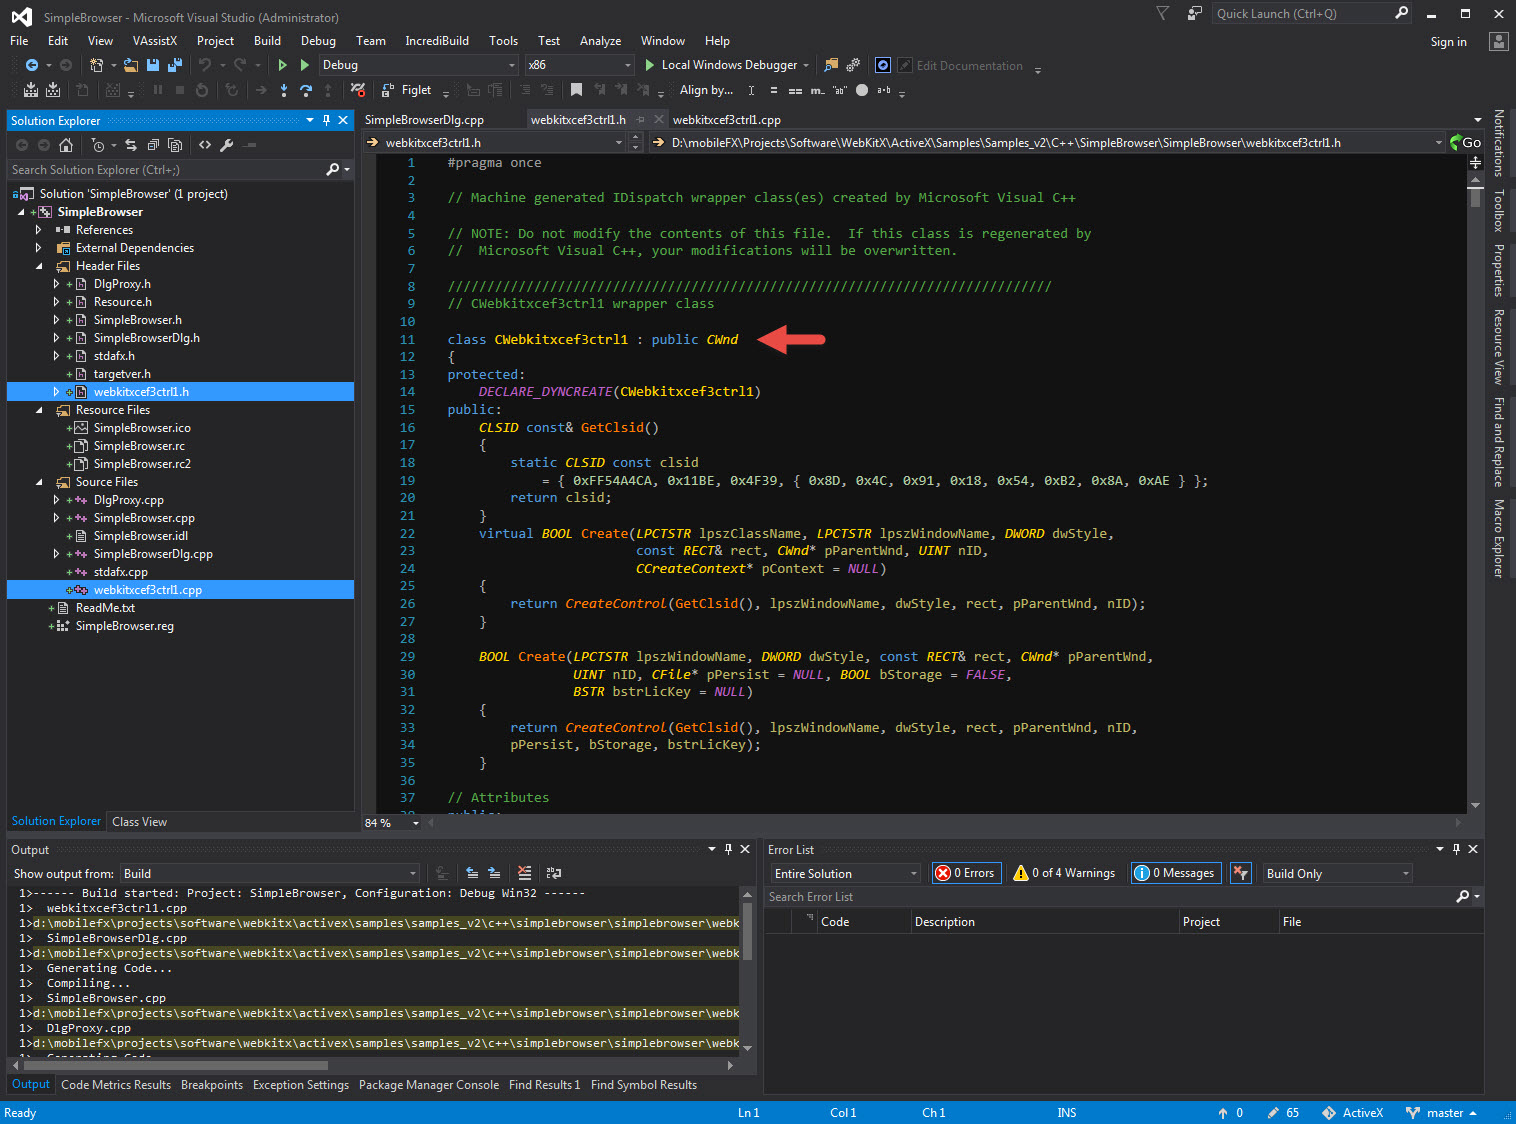
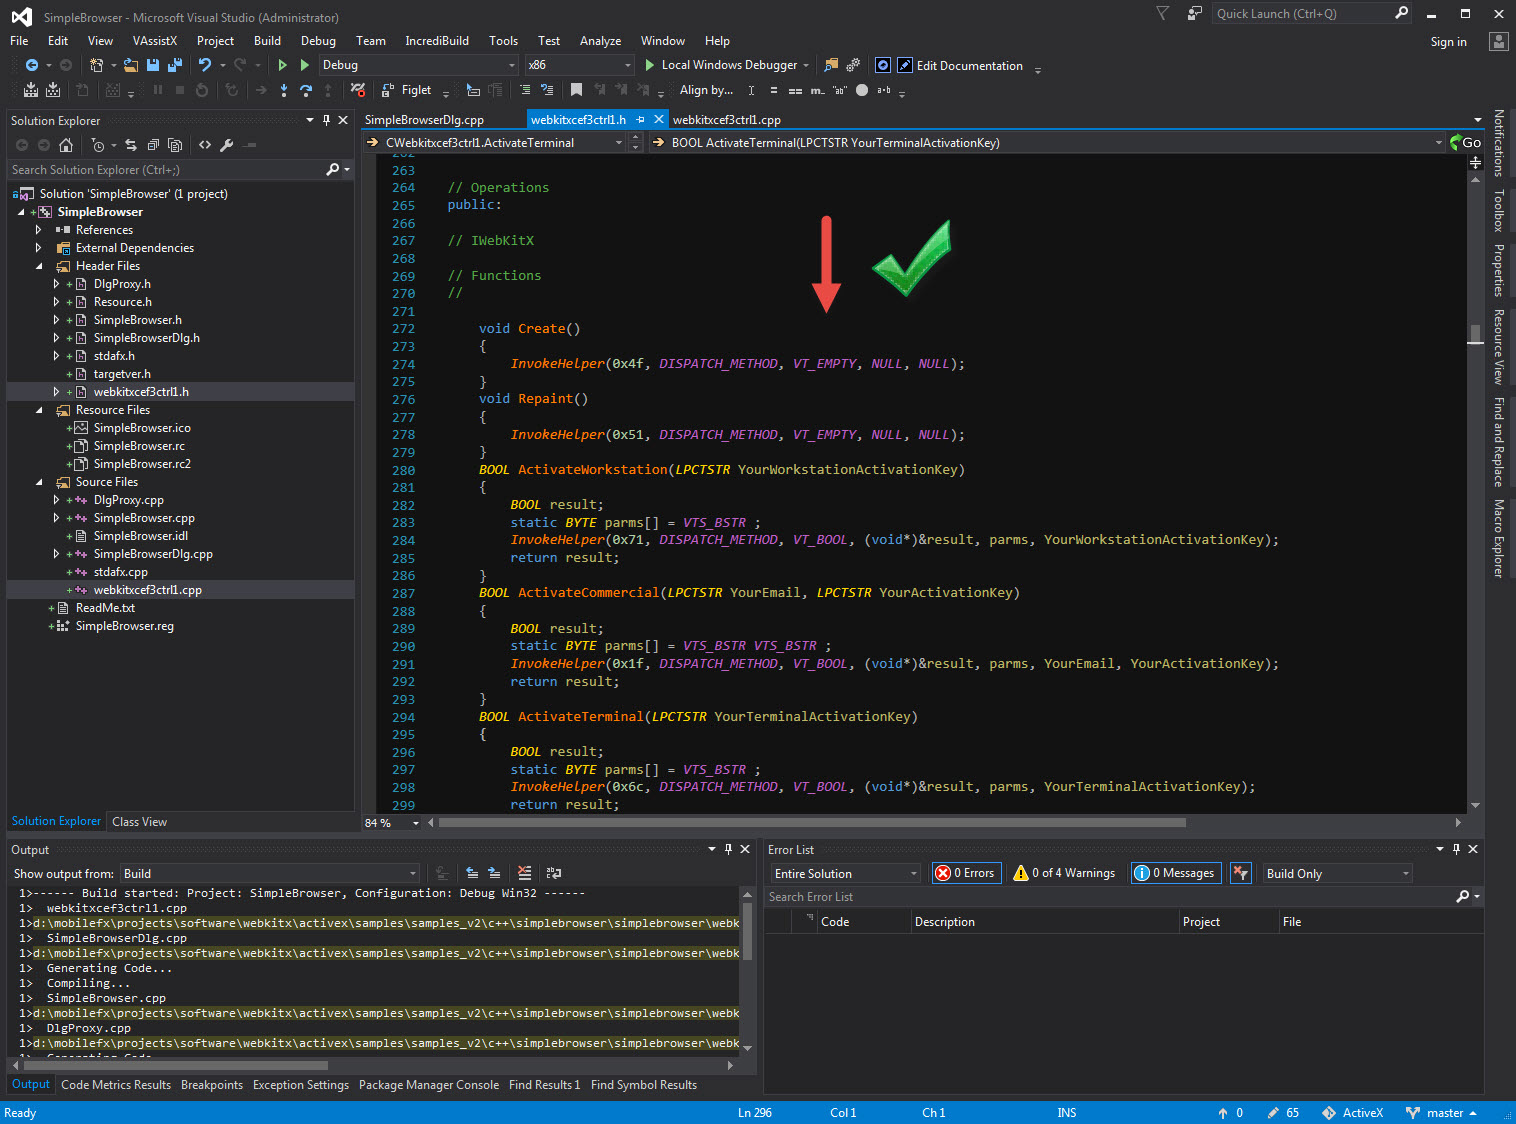
If Visual Studio has no bug, by opening webkitxcef3ctrl1.h and scrolling down to public members, you should see wrappers for all WebKitX methods and properties. If Visual Studio has the bug then the member's won't be there..
You can now comment-out the typecasting code and use the local variable m_WebKitX. Build your project to check for errors.
Run and you should see Google landing page!